Hatching a Dragon Egg
Building an interactive glowing dragon egg prop.

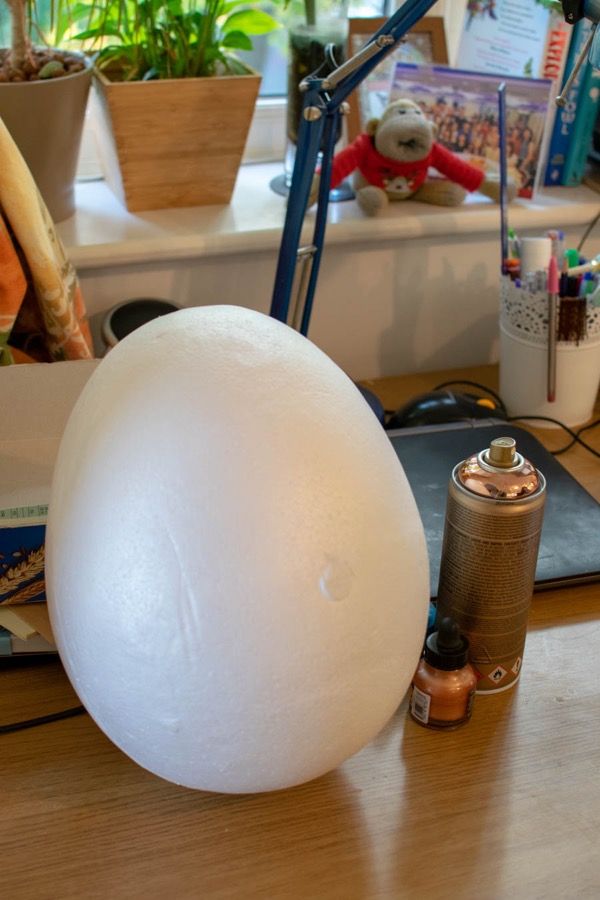
A few months ago, my partner (who is a Primary School Teacher) needed to build and decorate a "Dragon Egg" for her class as a prop to inspire them for a creative project. She was provided with a large styrofoam hollow egg and given complete freedom to decorate it. And so began a pretty fun partner weekend project!
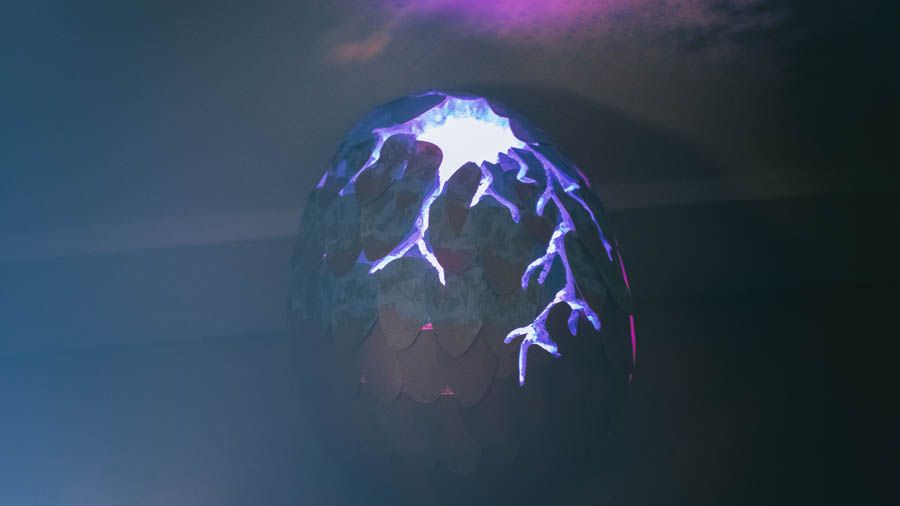
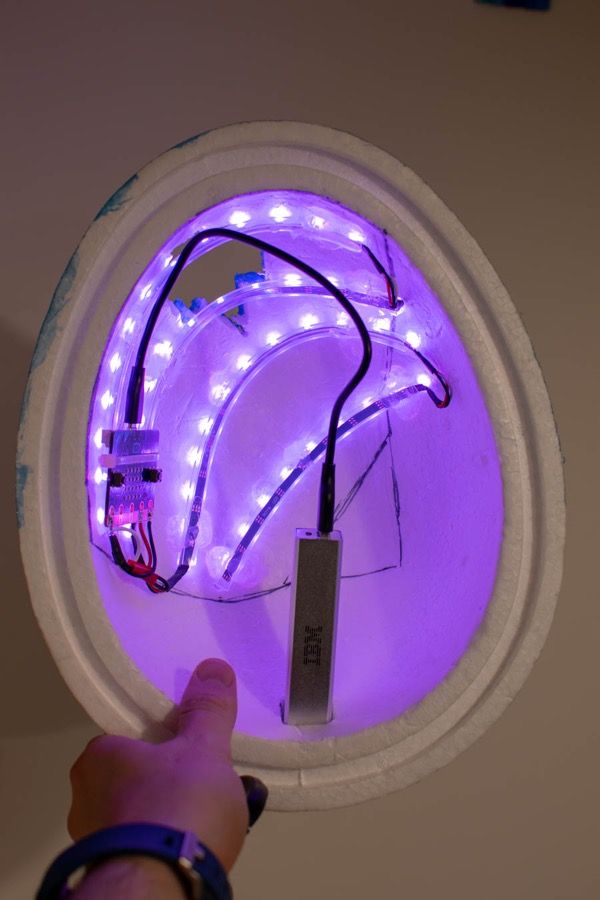
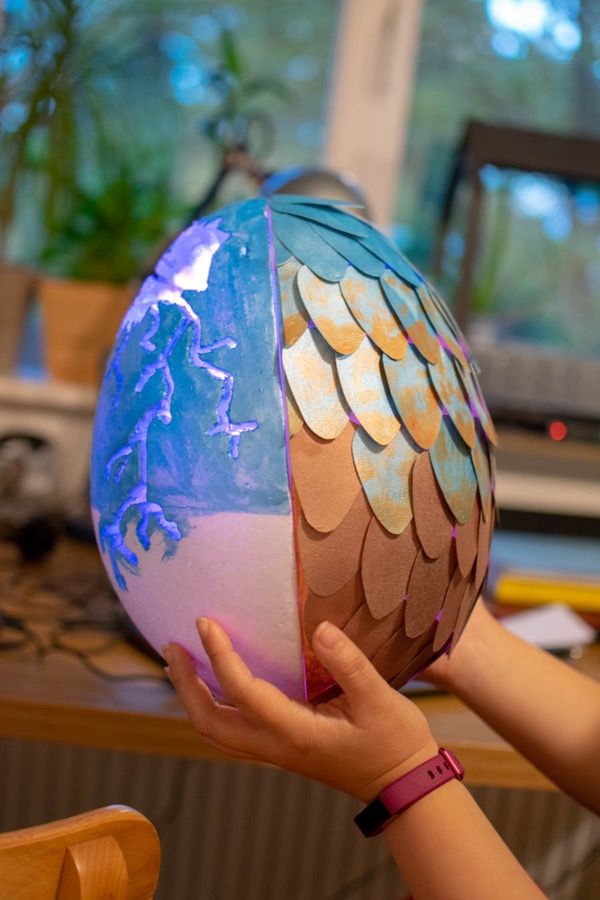
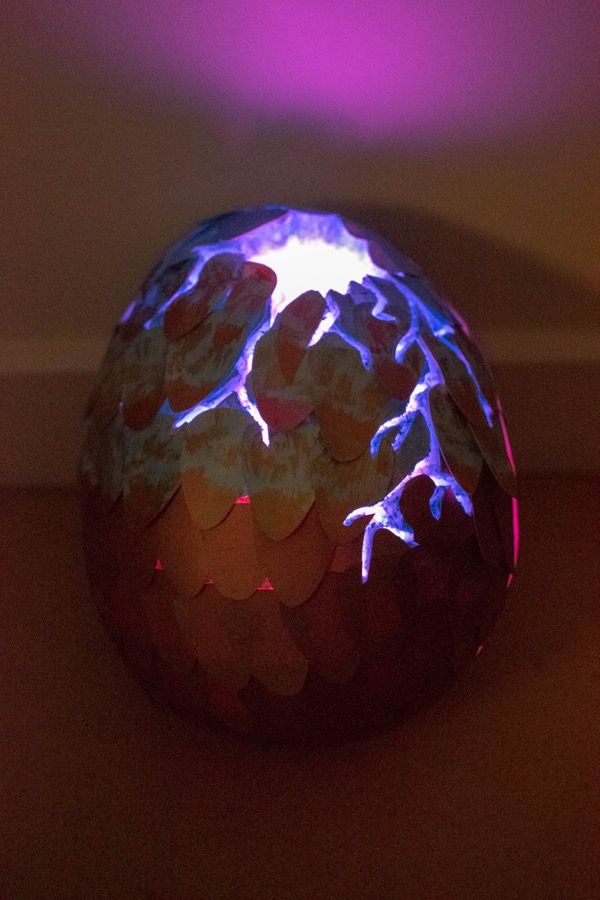
You can see the finished egg below, there is a small hole and cracks emanating from it on one side, through the cracks you can see a purple pulsing light. If someone picks up and shakes the egg, then the lights inside immediately turn red as a warning, then after a few seconds, they go back to pulsing purple.
Building the Egg
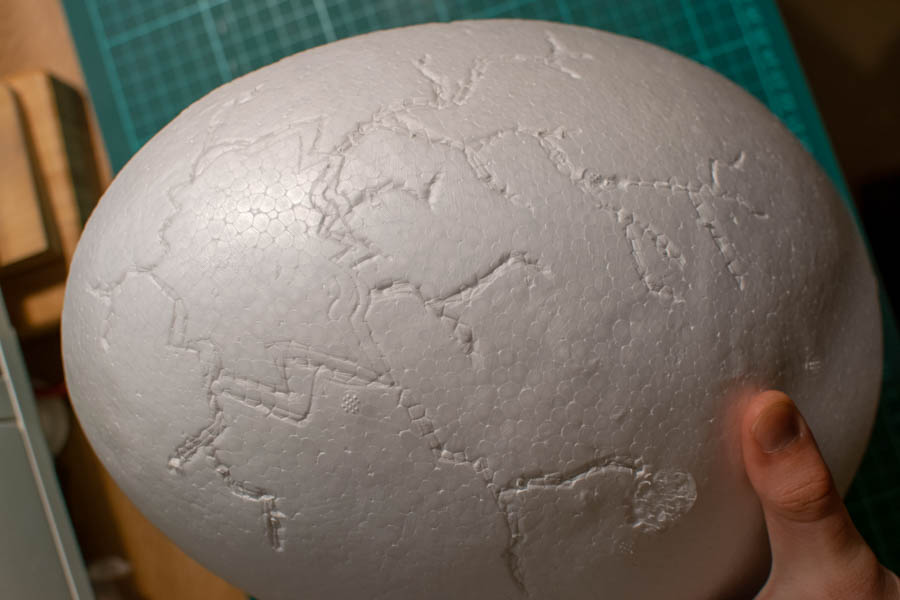
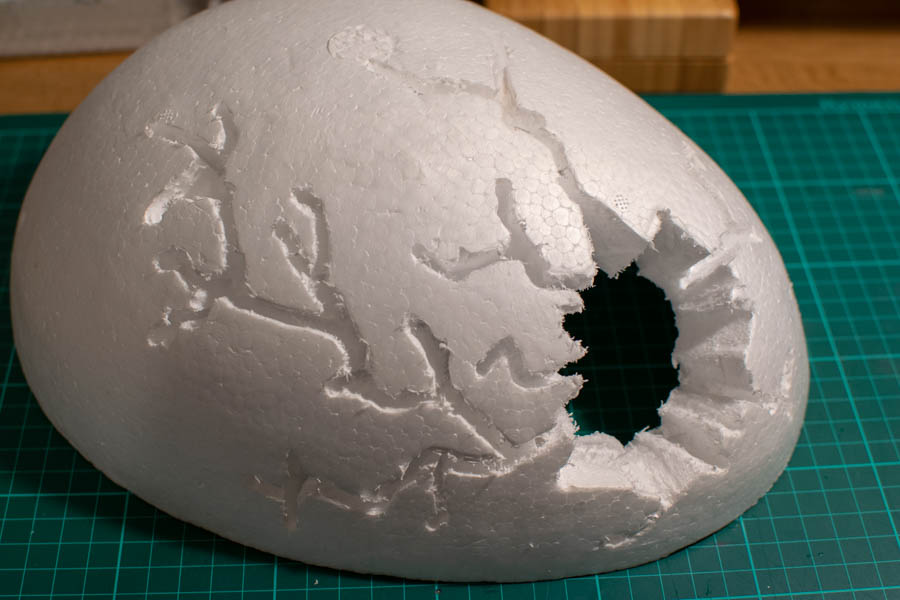
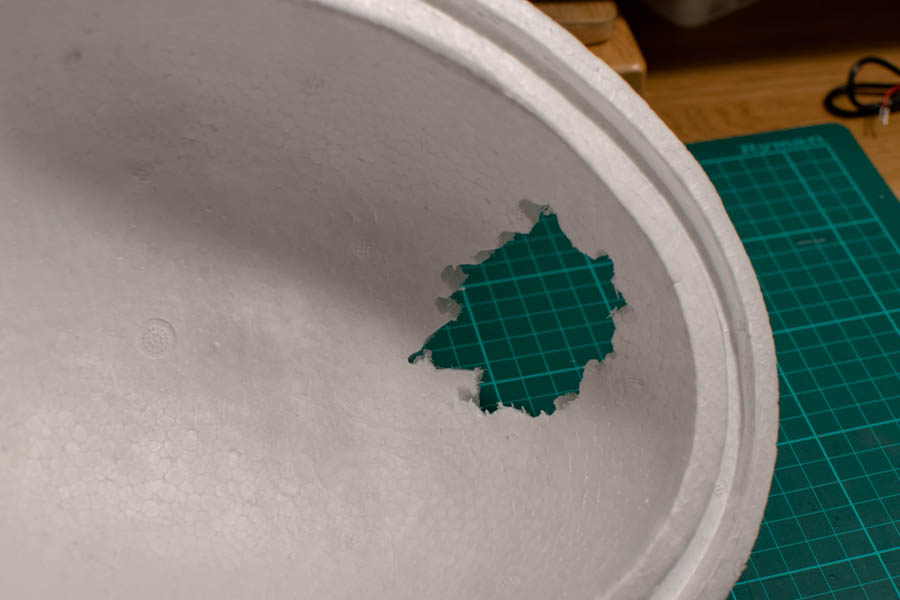
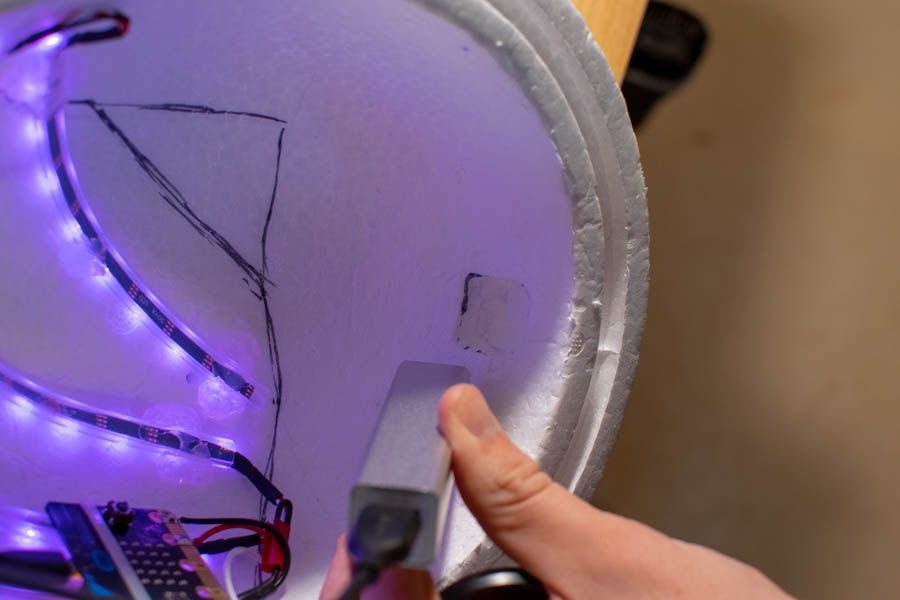
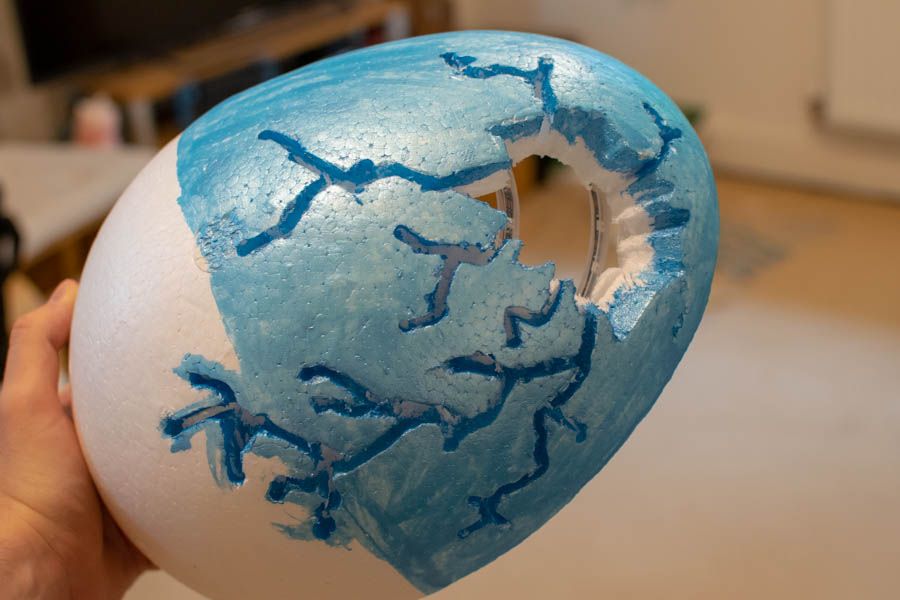
Once we got our hands on the egg, we drew the outline of the cracks and hole in pencil. I then used my dremel to cut out the hole at the top, for the cracks, we used the dremel to carve out the cracks, but only halfway through the styrofoam. This would allow the light to pass through without weakening the structure of the egg.
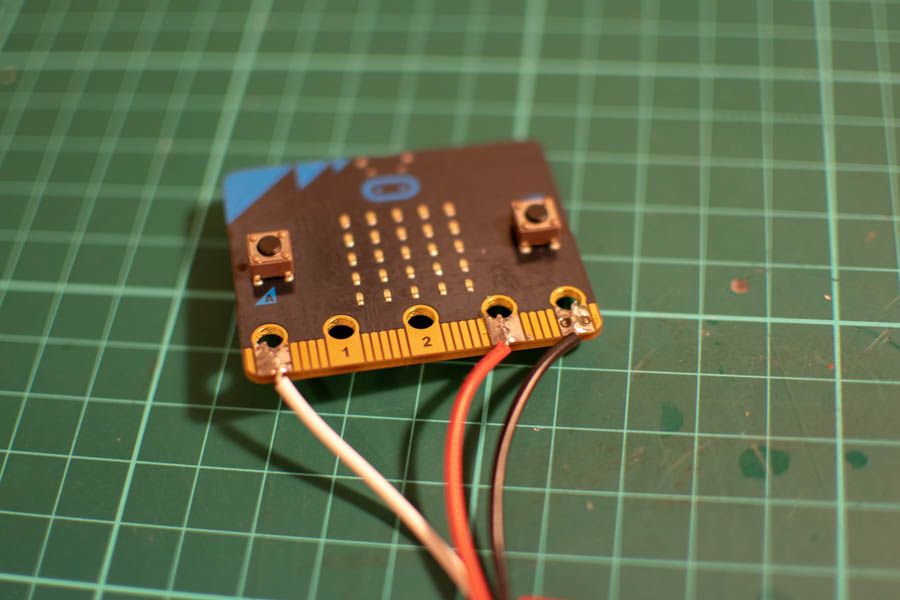
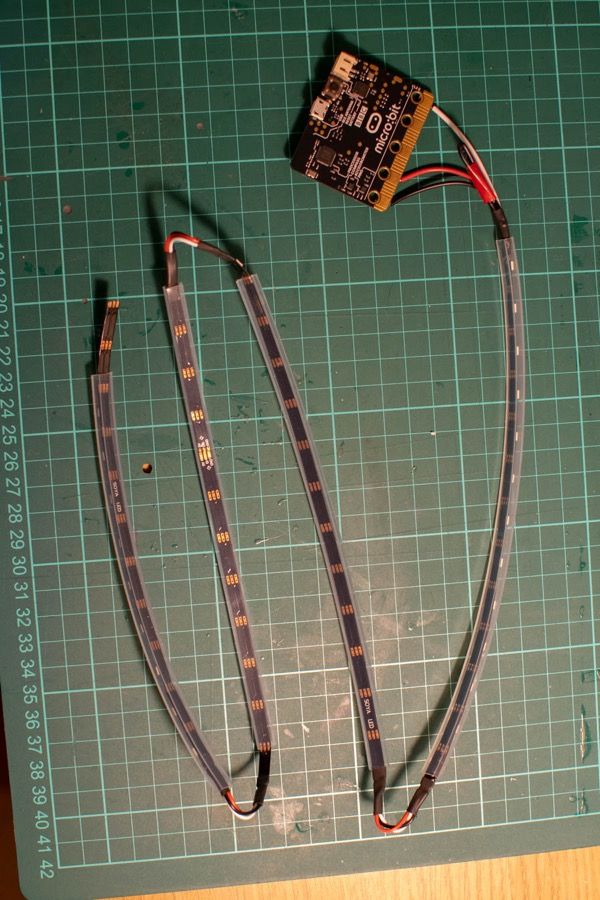
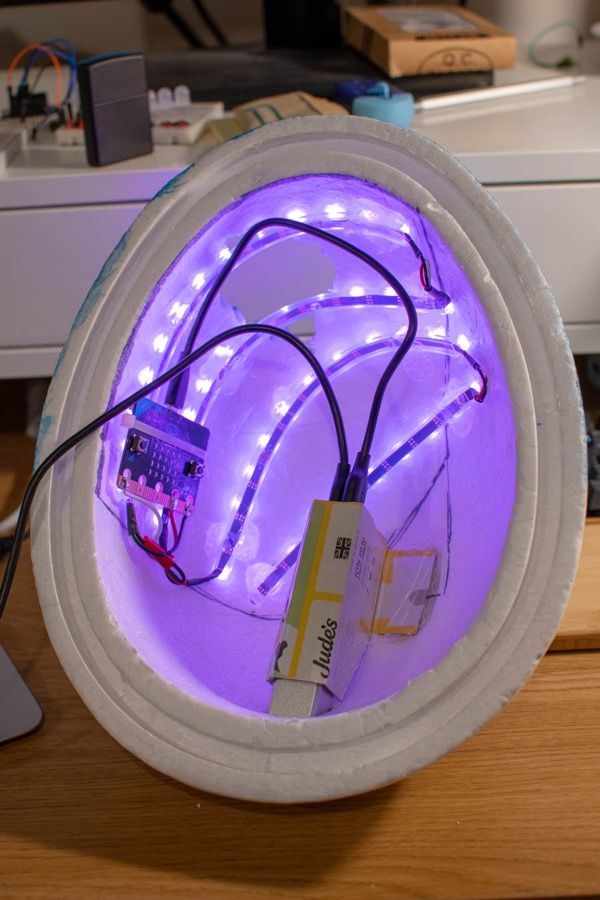
Next up, we started working on the lights. I happened to have a BBC micro:bit lying around and it felt like a good opportunity to explore how to use and program. For the LEDs, we chose a 1m Adafruit Mini Skinny NeoPixel Digital RGB LED Strip and soldered it straight onto the micro:bit. In order to make it fit on the inside of the egg, we also cut the NeoPixel strip into segments and connected them with some small jumpers, this meant that we could bend the strip in some sharper angles and get maximum coverage underneath the cracks.
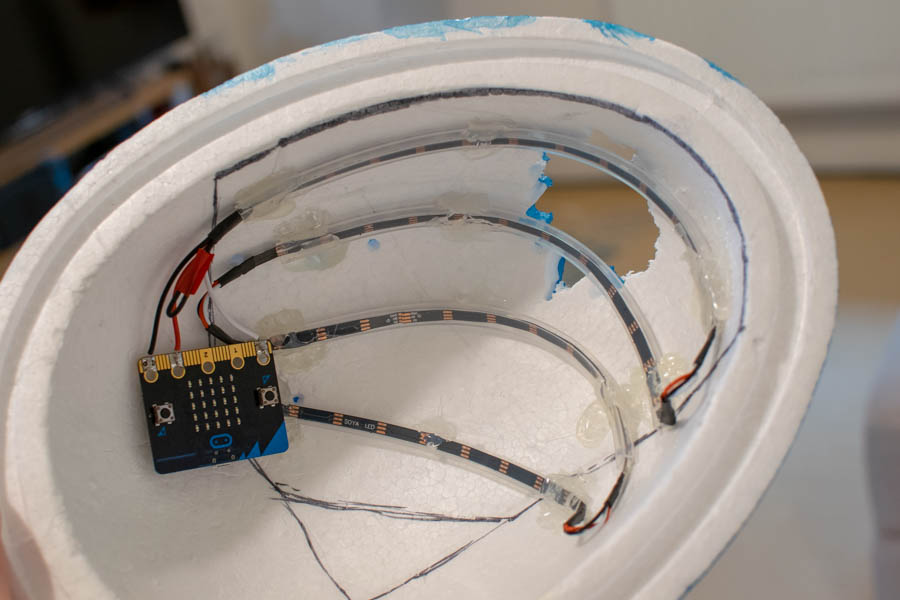
Once the circuit was complete, we loaded a test script onto the micro:bit to test the LEDs and make sure everything was connected properly. We then used hot glue to attach the NeoPixel Strips to the inside of the Egg. To power it, I found a USB power bank from a conference and cut a small indentation into the inside of the egg to hold it, we also added some cardboard to affix it securely to the egg.

Decorating the Egg
Once the lights were safely tucked away inside the egg, we set to work decorating it.
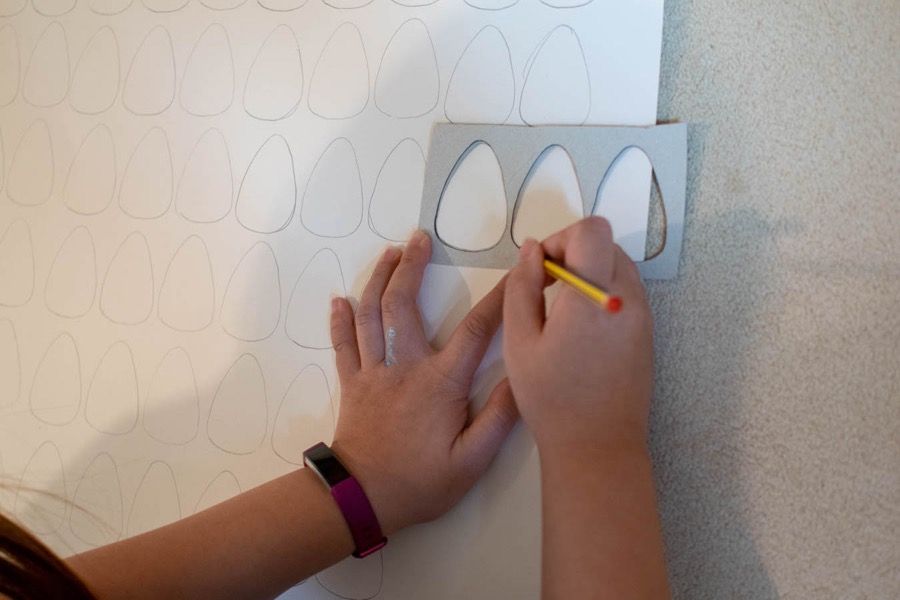
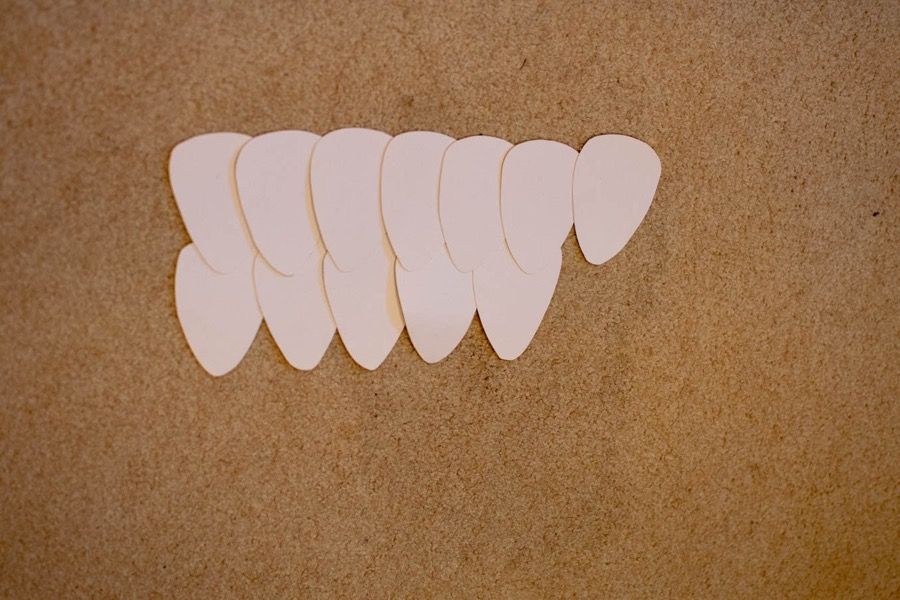
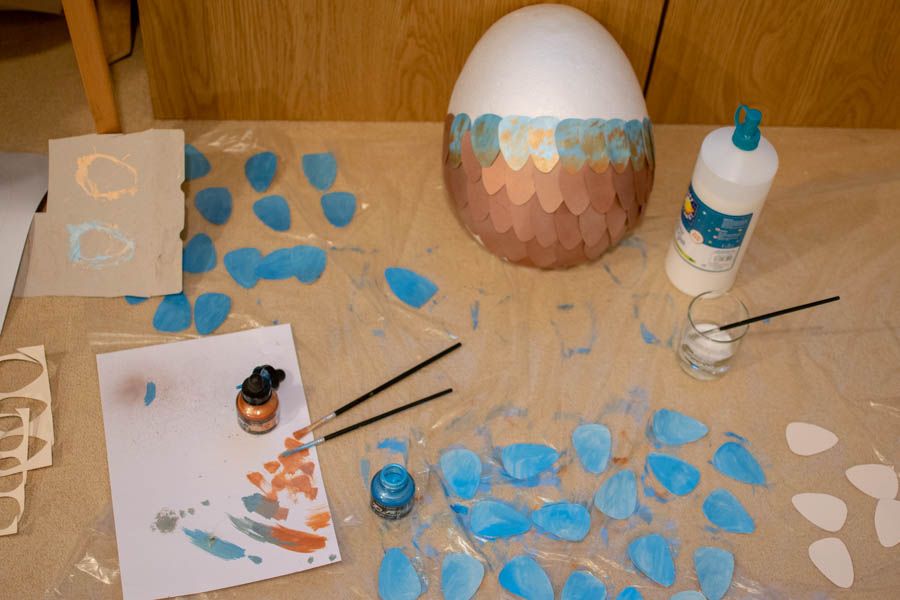
We cut out a lot of scale shaped pieces of cardboard then painted them with a combination of pearlescent blue ink and metallic copper coloured spray paint. We then used PVA glue to attach and layer them onto the outside of the egg. When we got to the parts with the cracks, we had to cut the scales so the cracks could be seen underneath.


Coding the Light effects
We wrote the code for the micro:bit using the MicroPython Online IDE, the code is available below. Thanks to a few of the micro:bit features, this was actually incredibly simple. We simply loop forever fading from purple to black whilst also checking to see if the accelerometer has encounterd a 'shake' event. If that returns true, then we set the lights to red, sleep for 3500ms and then go back to pulsing.
In the end we were both really pleased with how the egg turned out. The pulsing effect and red glow worked really well and the scales and cracks on the outside really made it.