Moonrise Light

We had a request to get something printing on our 3D printer as a demonstration for an event a few weeks back, and separately had a request to print a lamp shade for another project. I'd been wanting to print the amazingly detailed 3D moon available on Thingiverse for a while, so this seemed like the perfect opportunity to do a small test print before committing to a day long full size print. The question was, what to do with it once complete? The answer? An intelligent light of course!
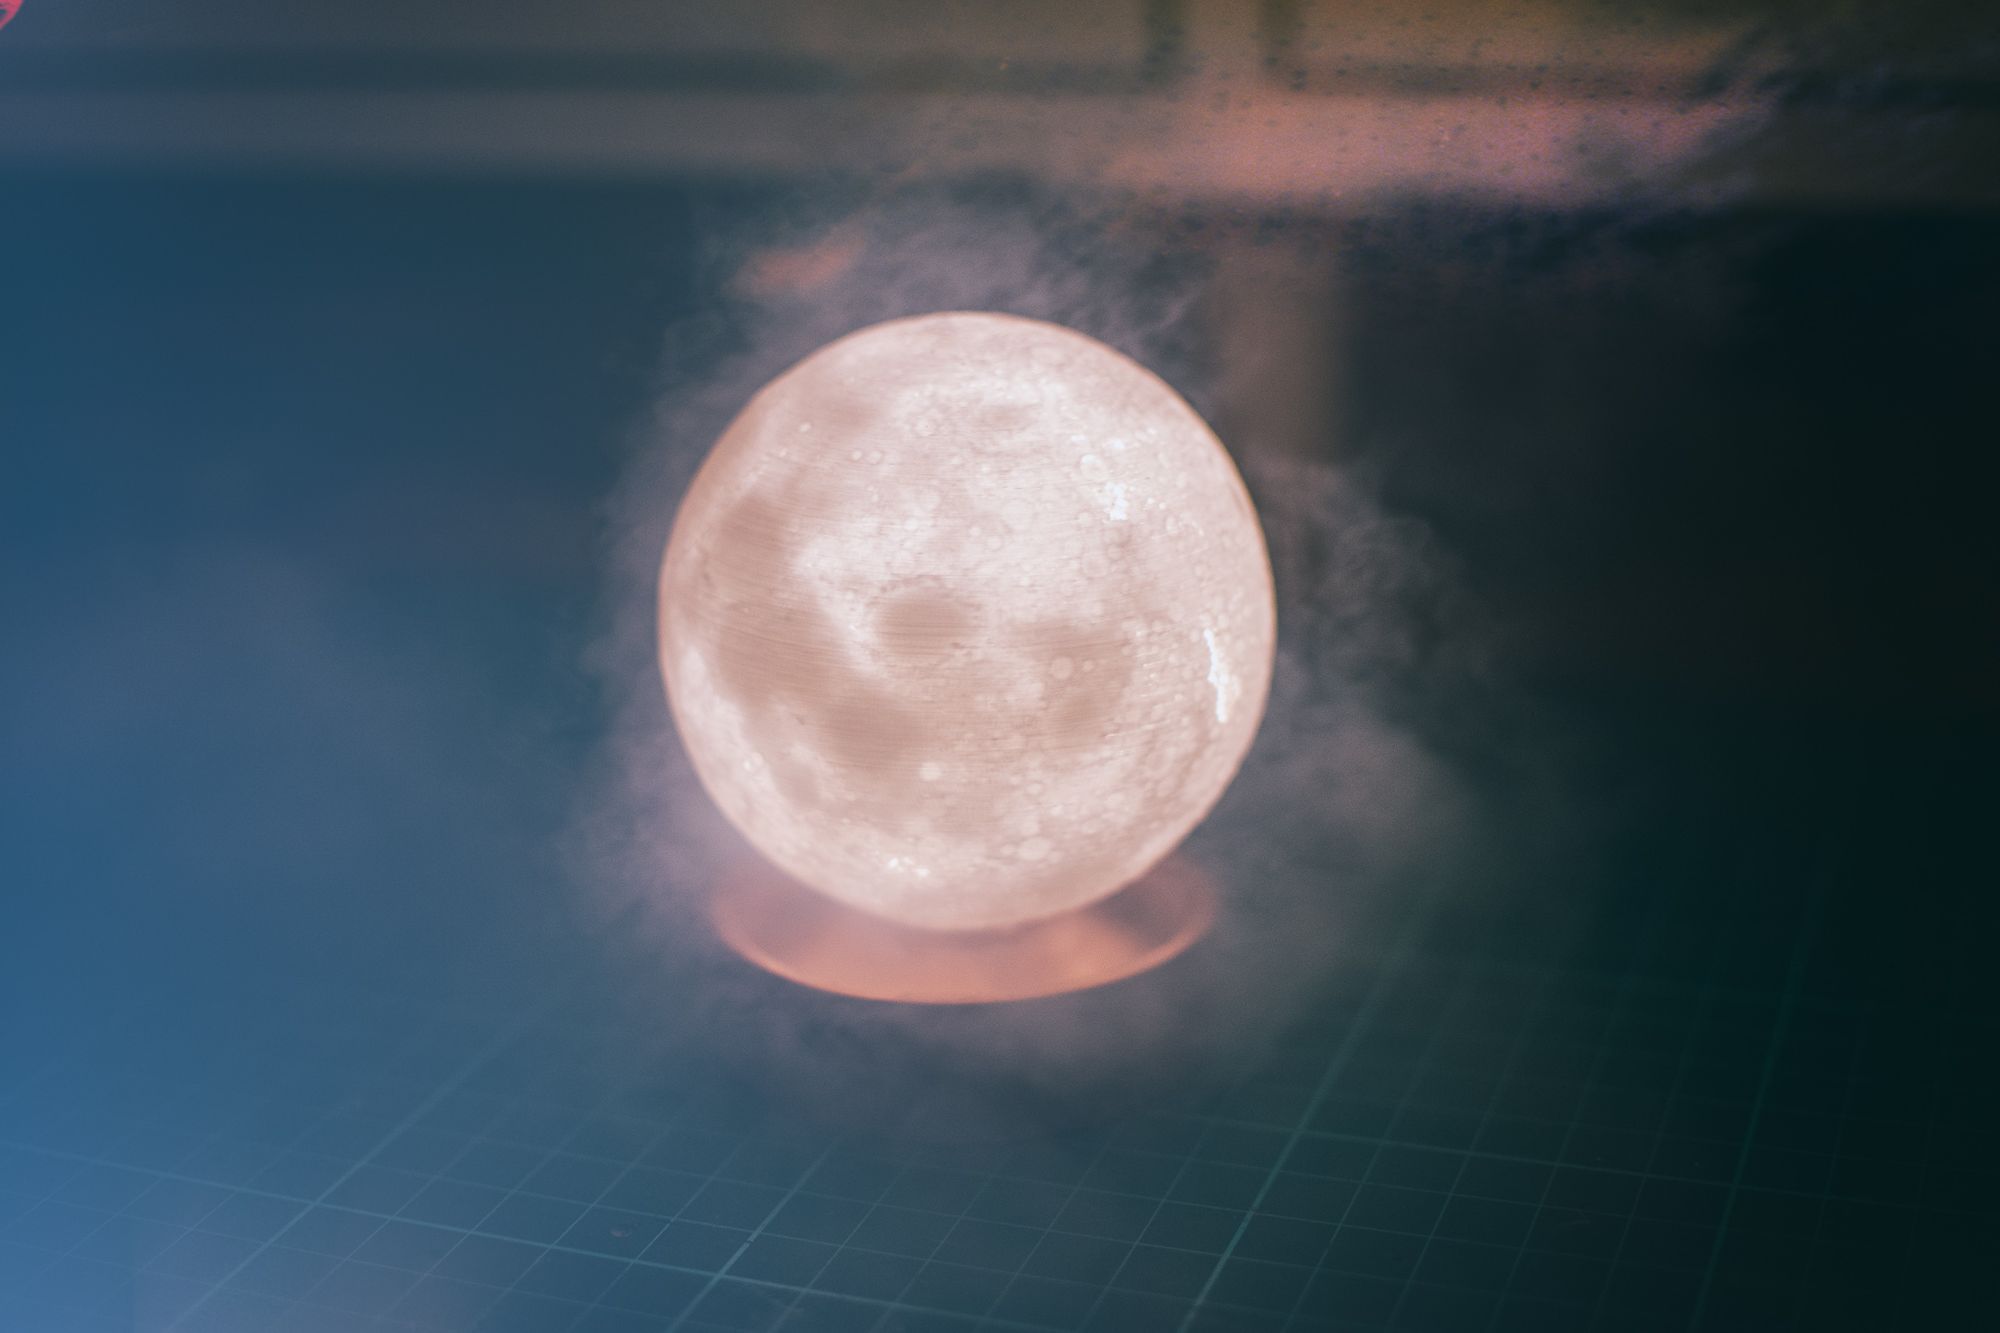
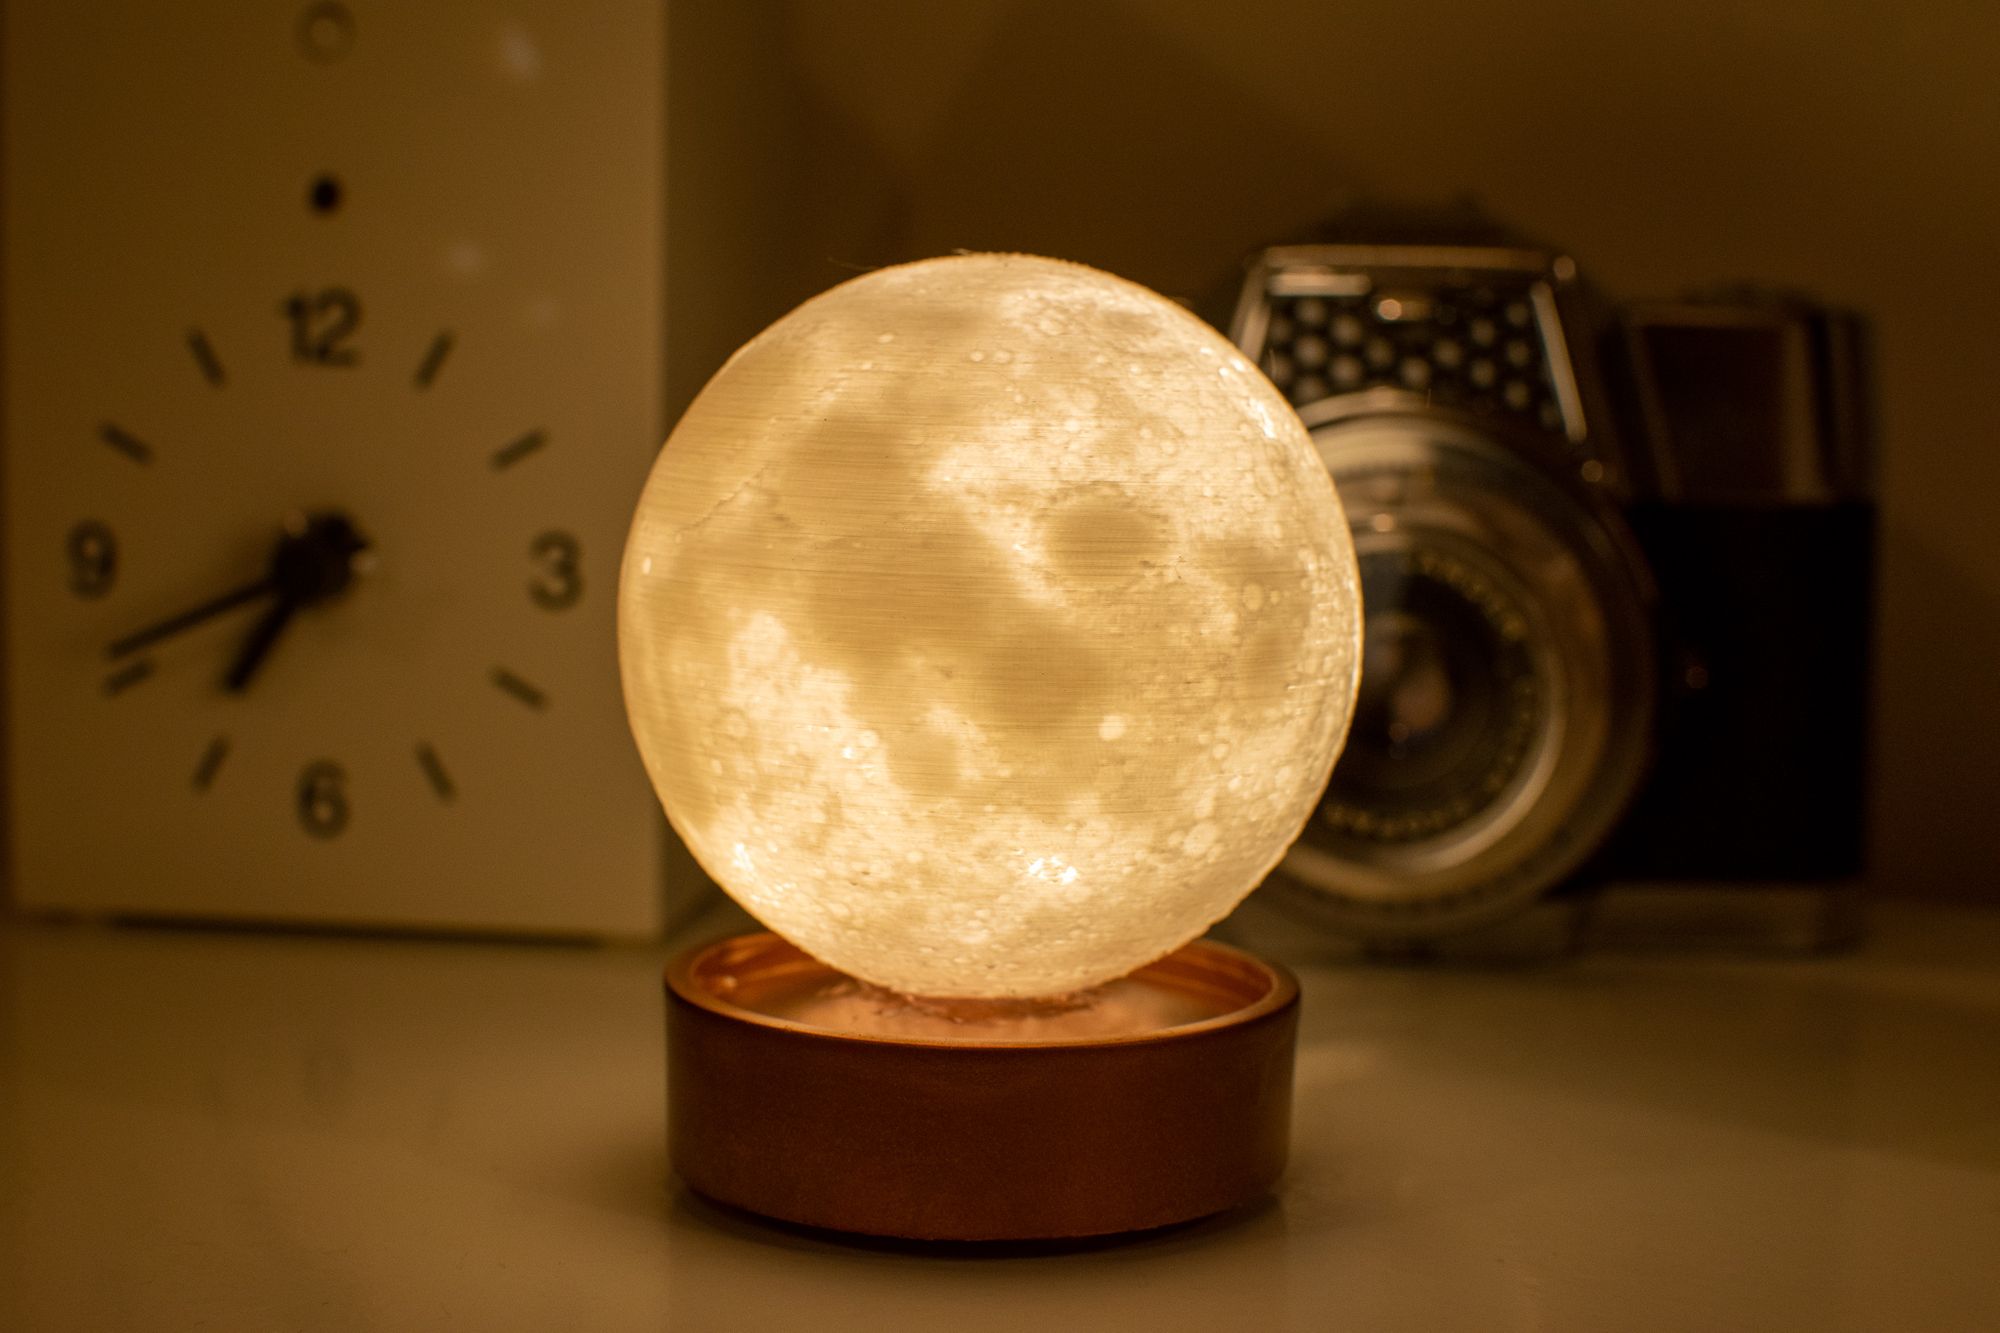
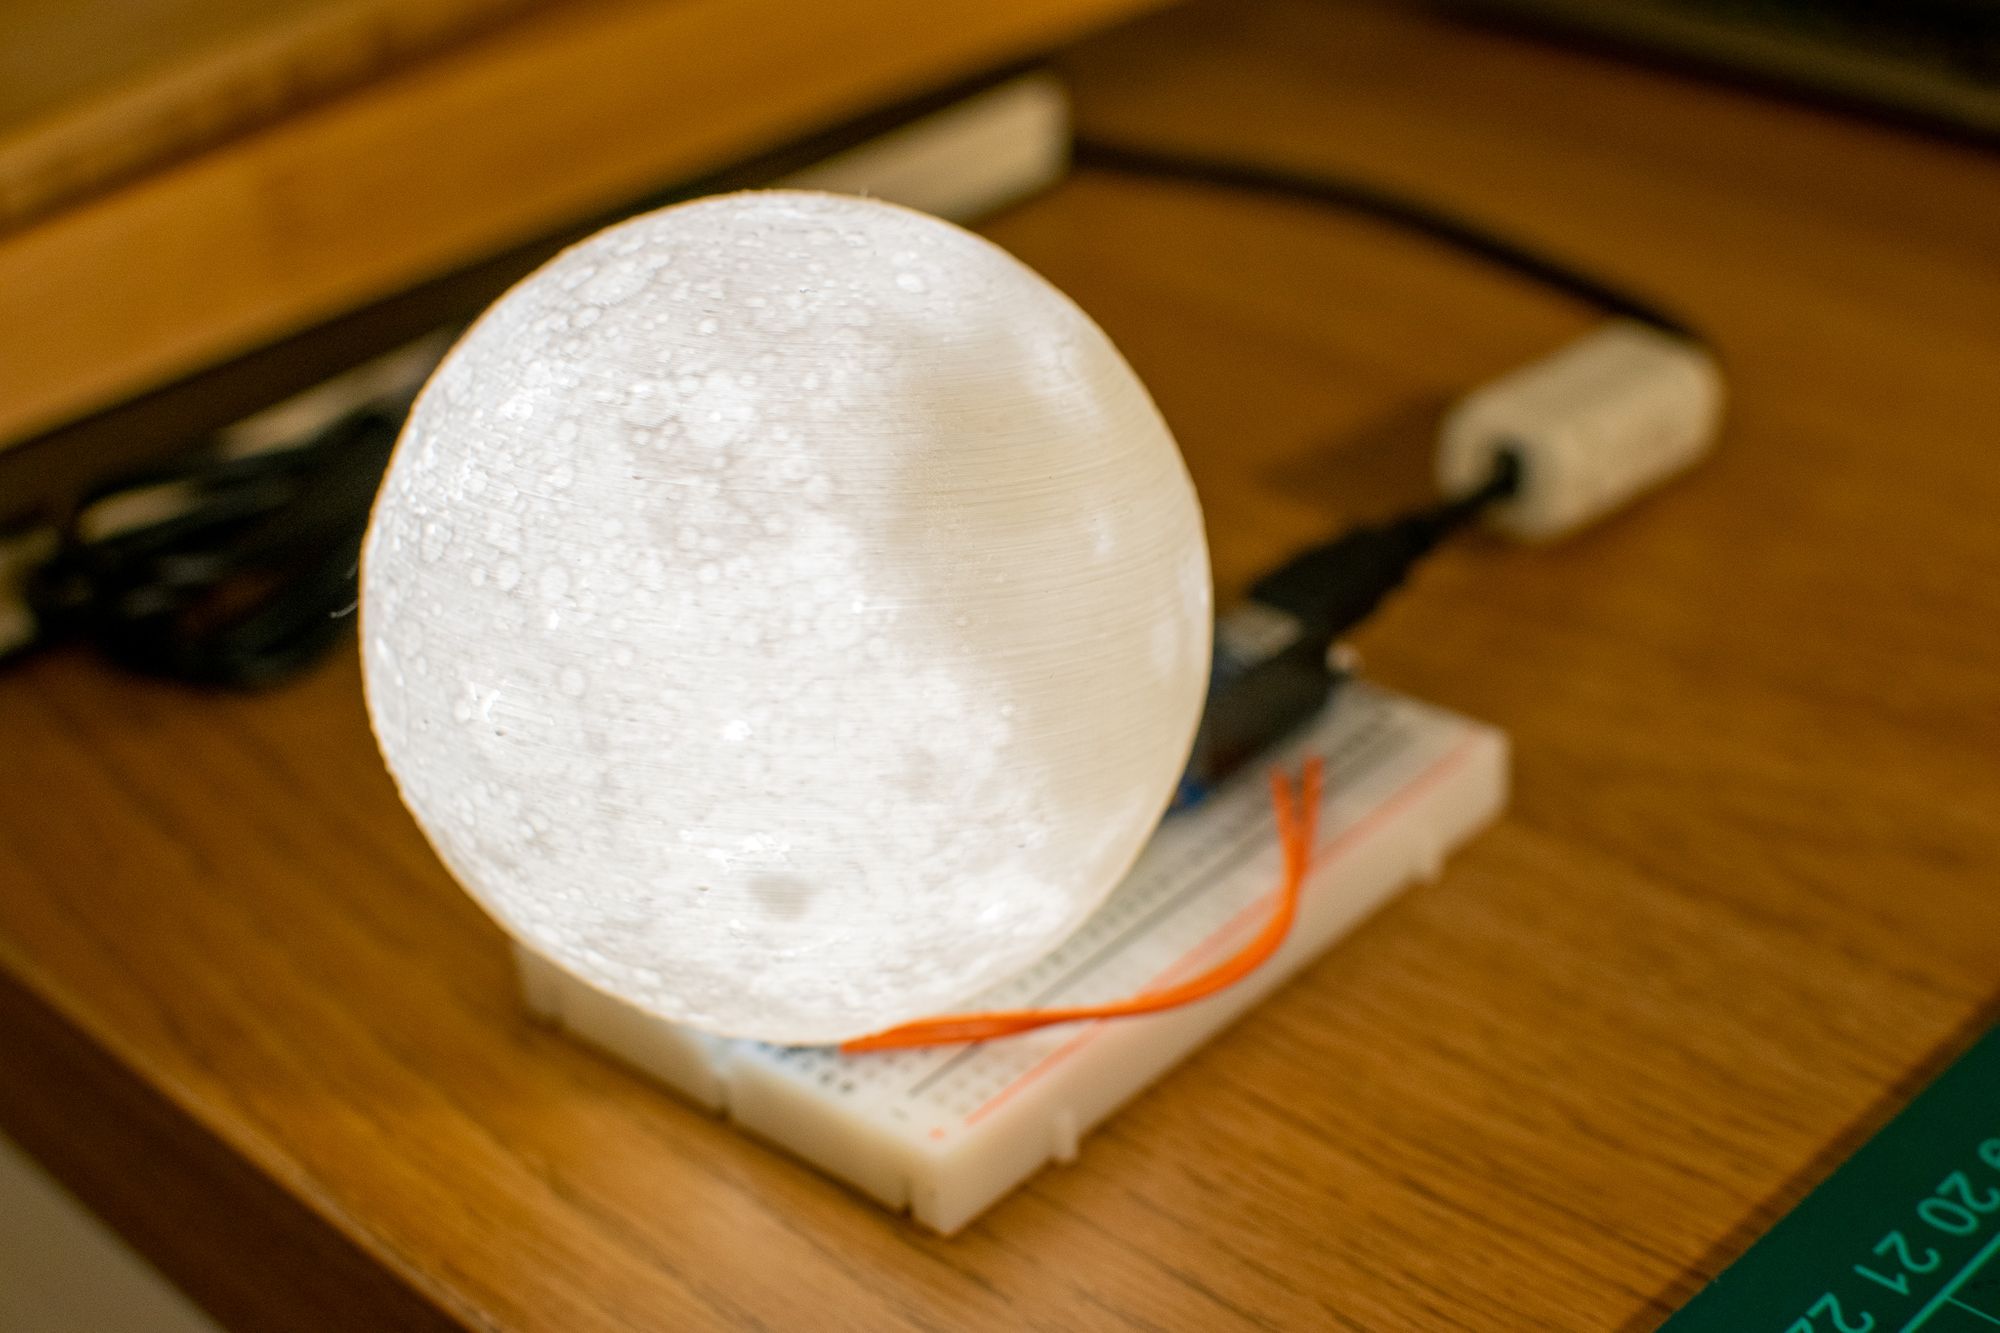
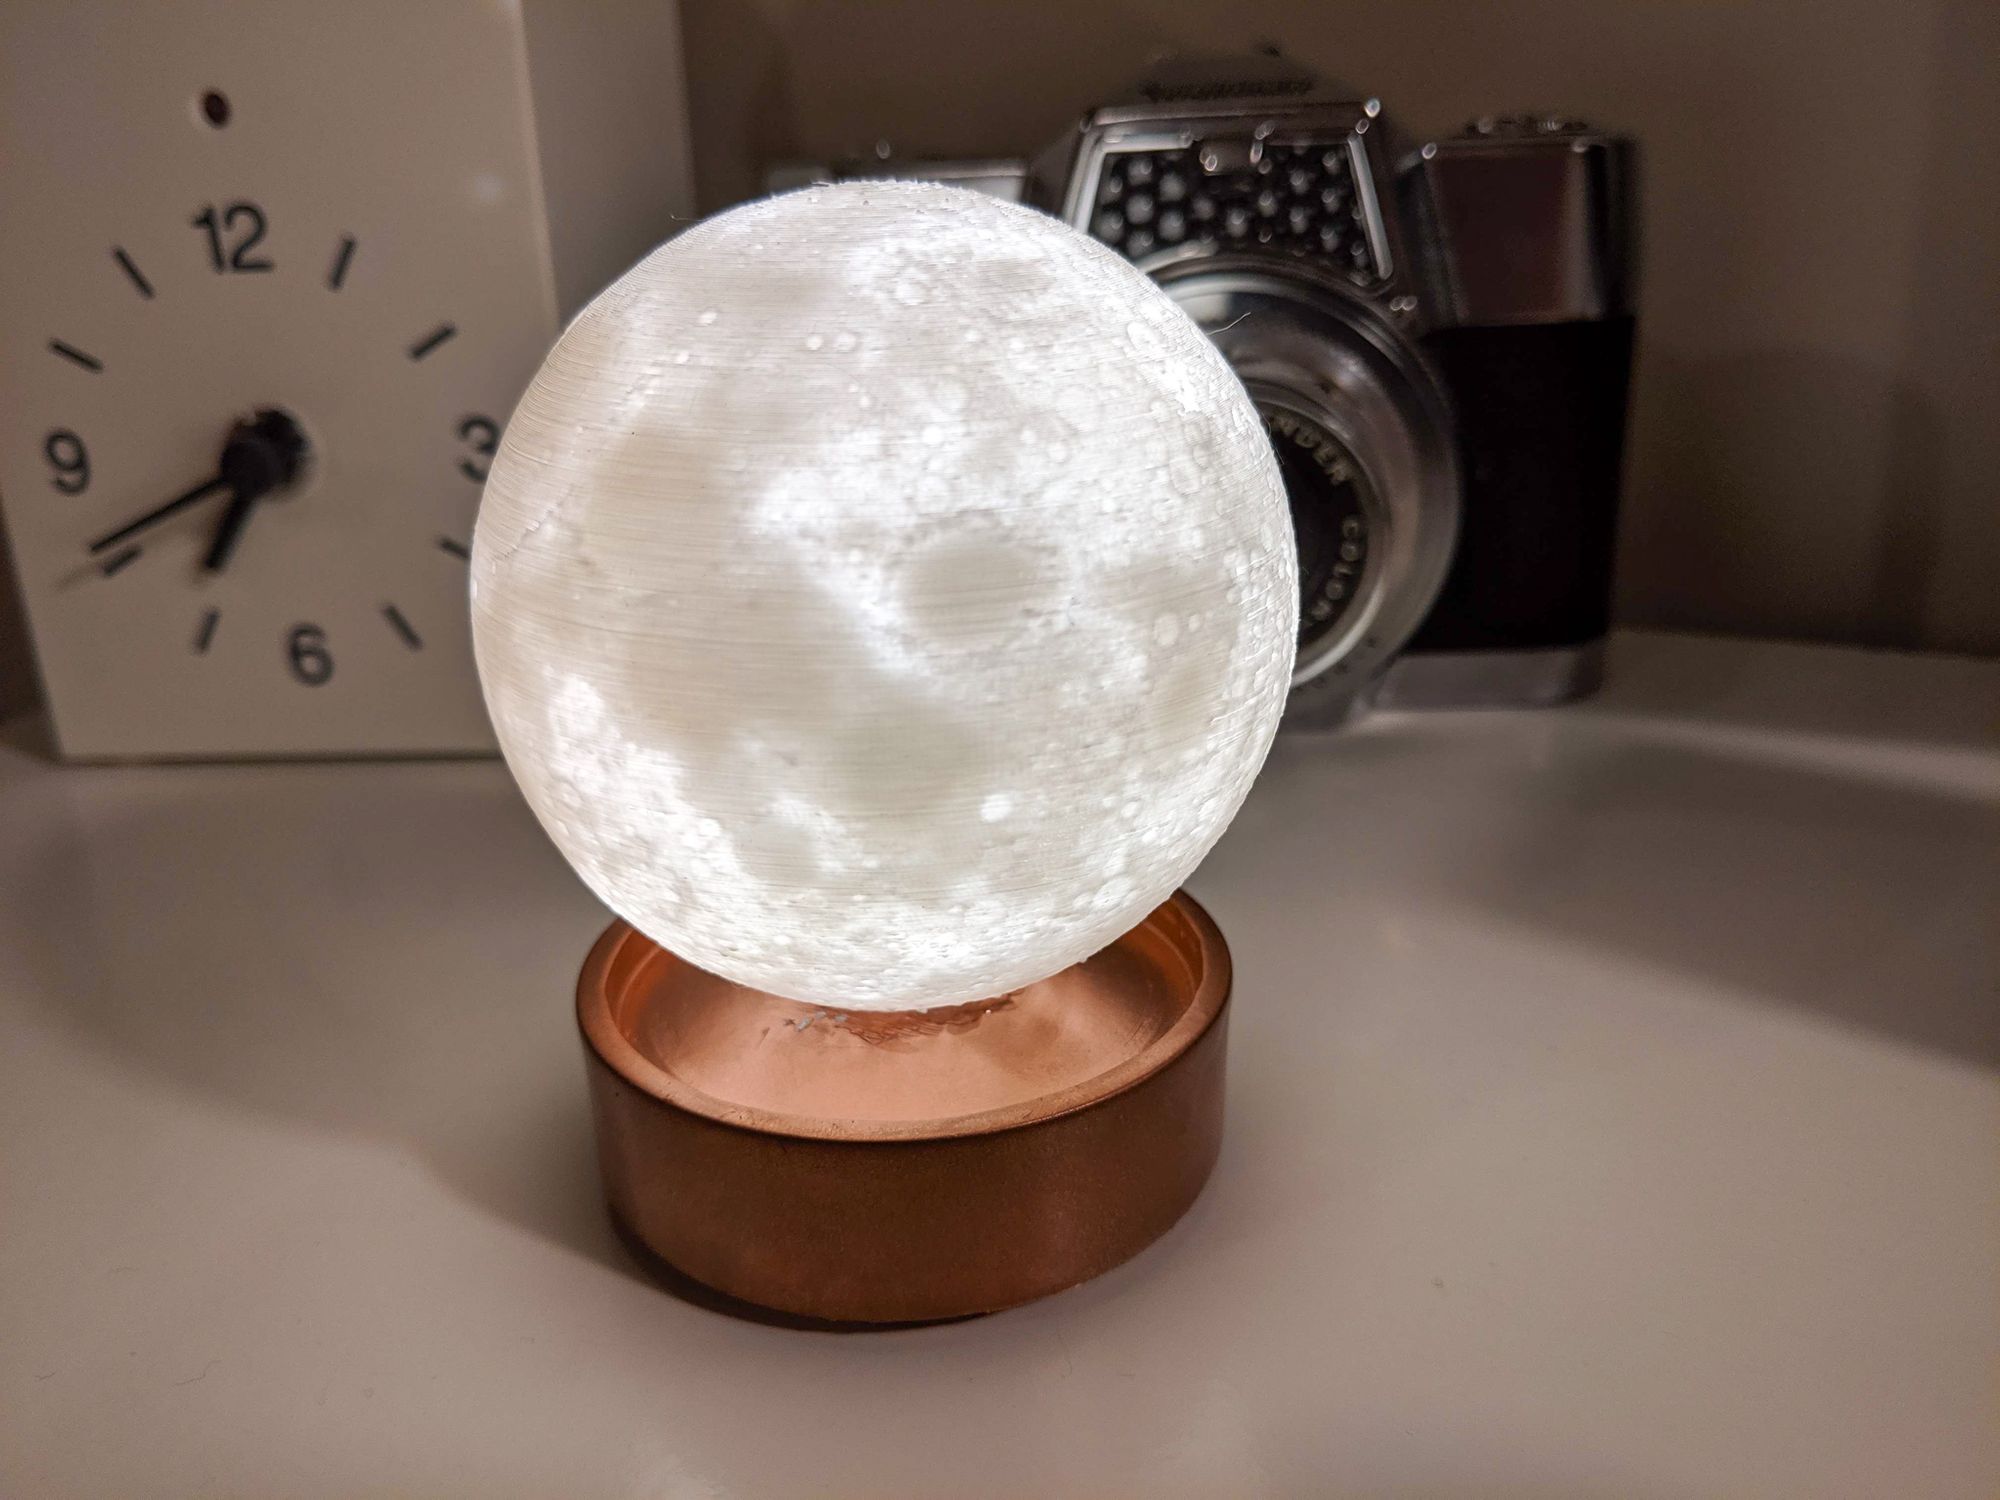
You can see the finished lamp below, it's the 3 inch diameter moon, mounted on a copper coloured base with a warm white LED inside it. There's actually a bit more to it though: I'm using an ESP8266 to connect to the internet and get the current date and time, then it works out whether the Moon is currently visible from a set of coordinates on the earth based on the time. If the moon is visible, the lamp turns on, when the moon sets, the lamp turns off again.
Prototype
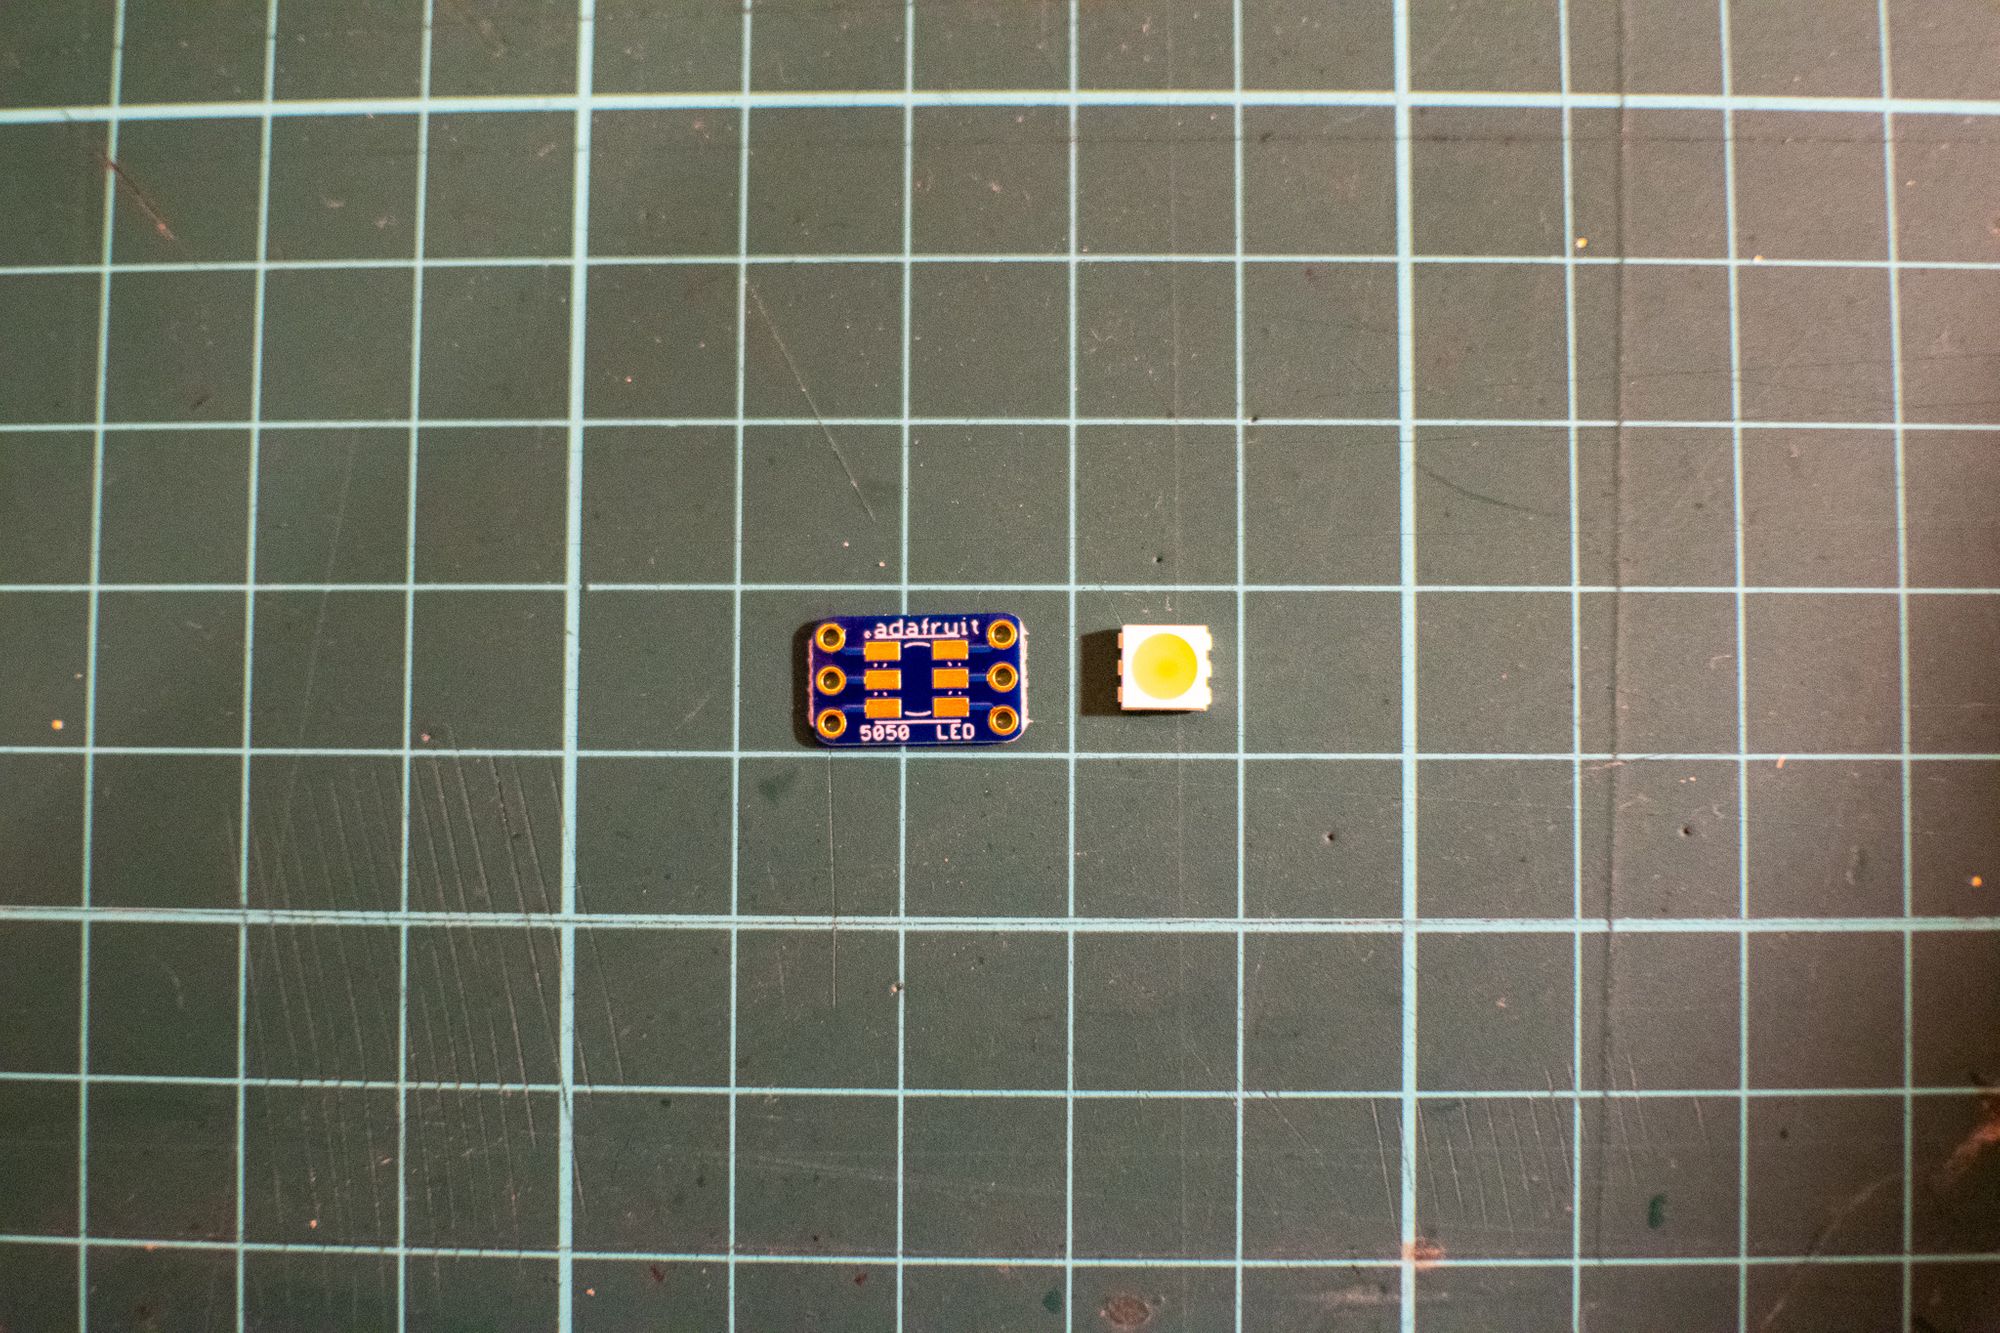
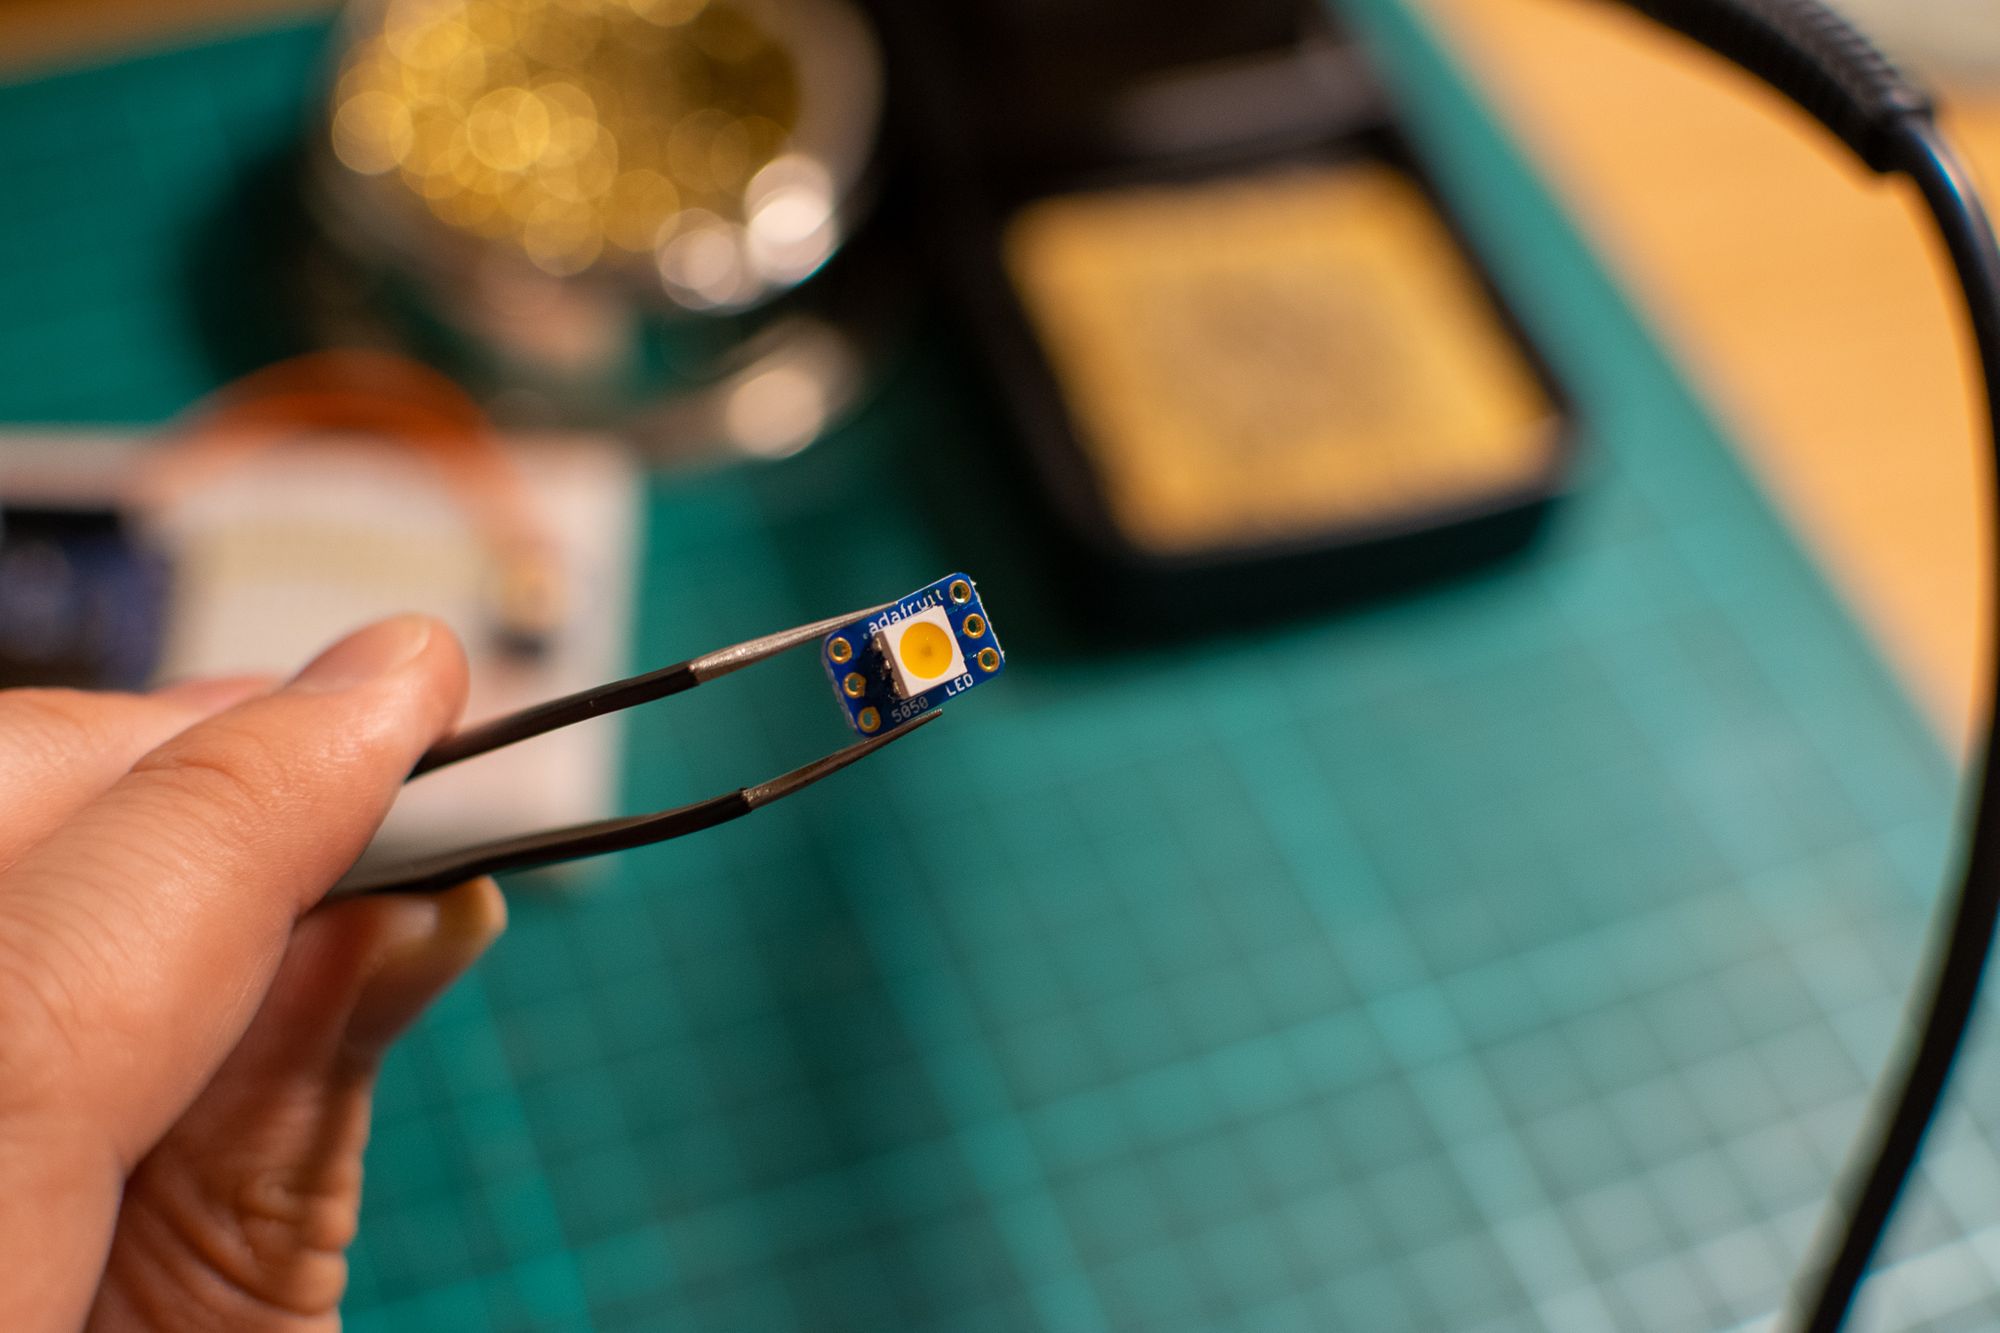
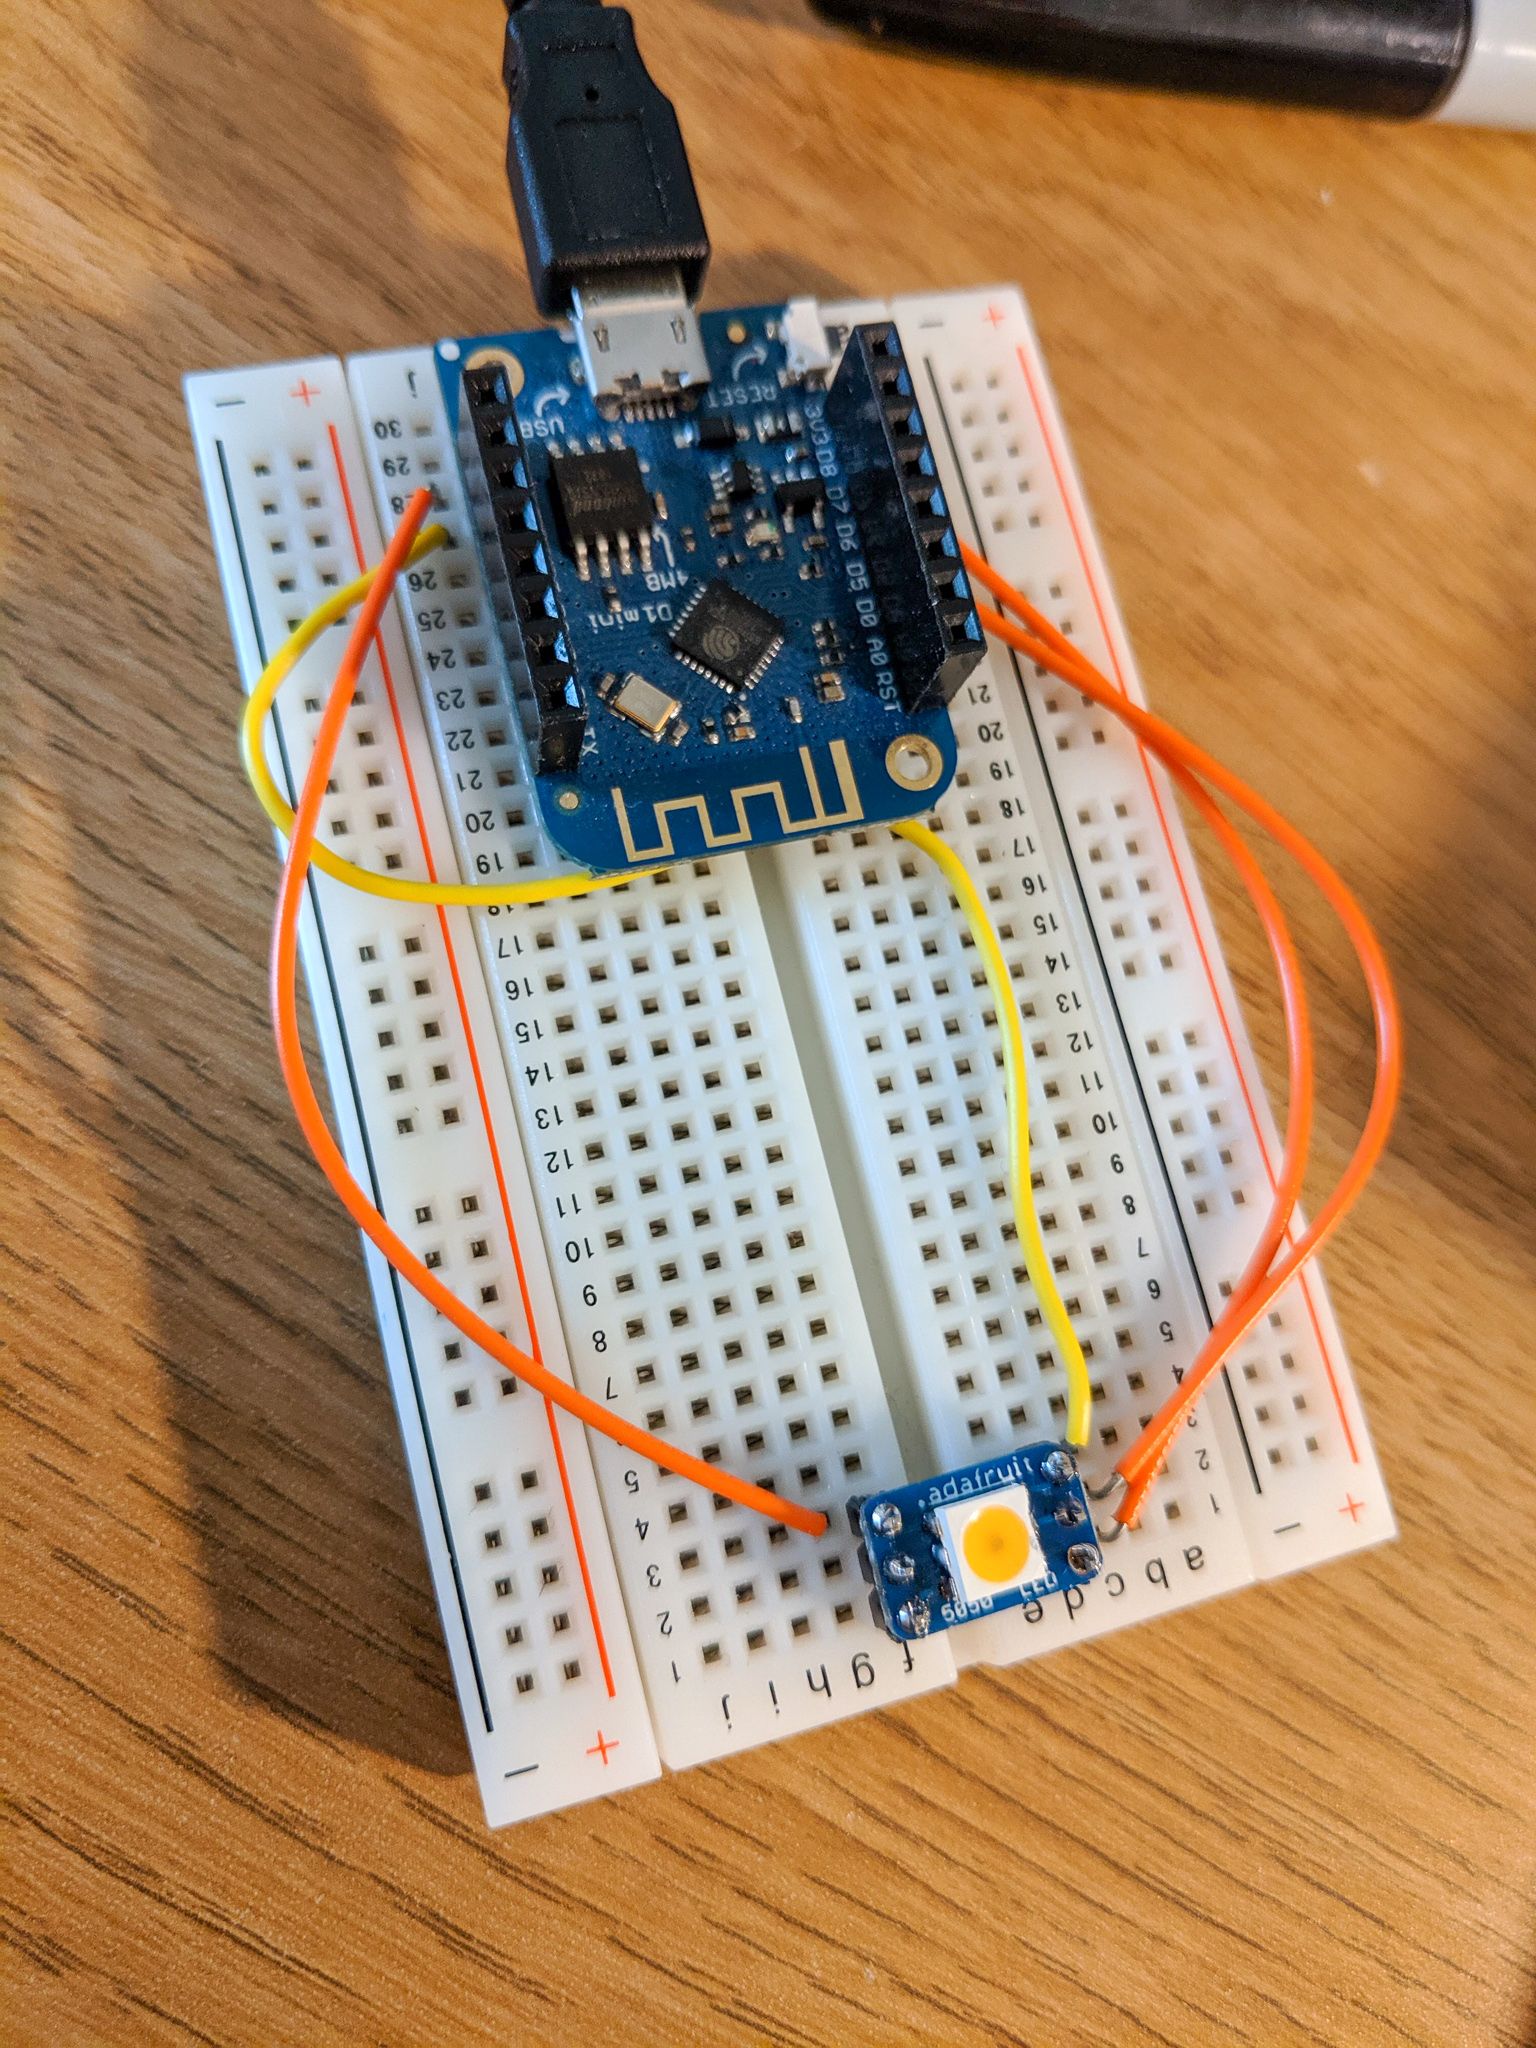
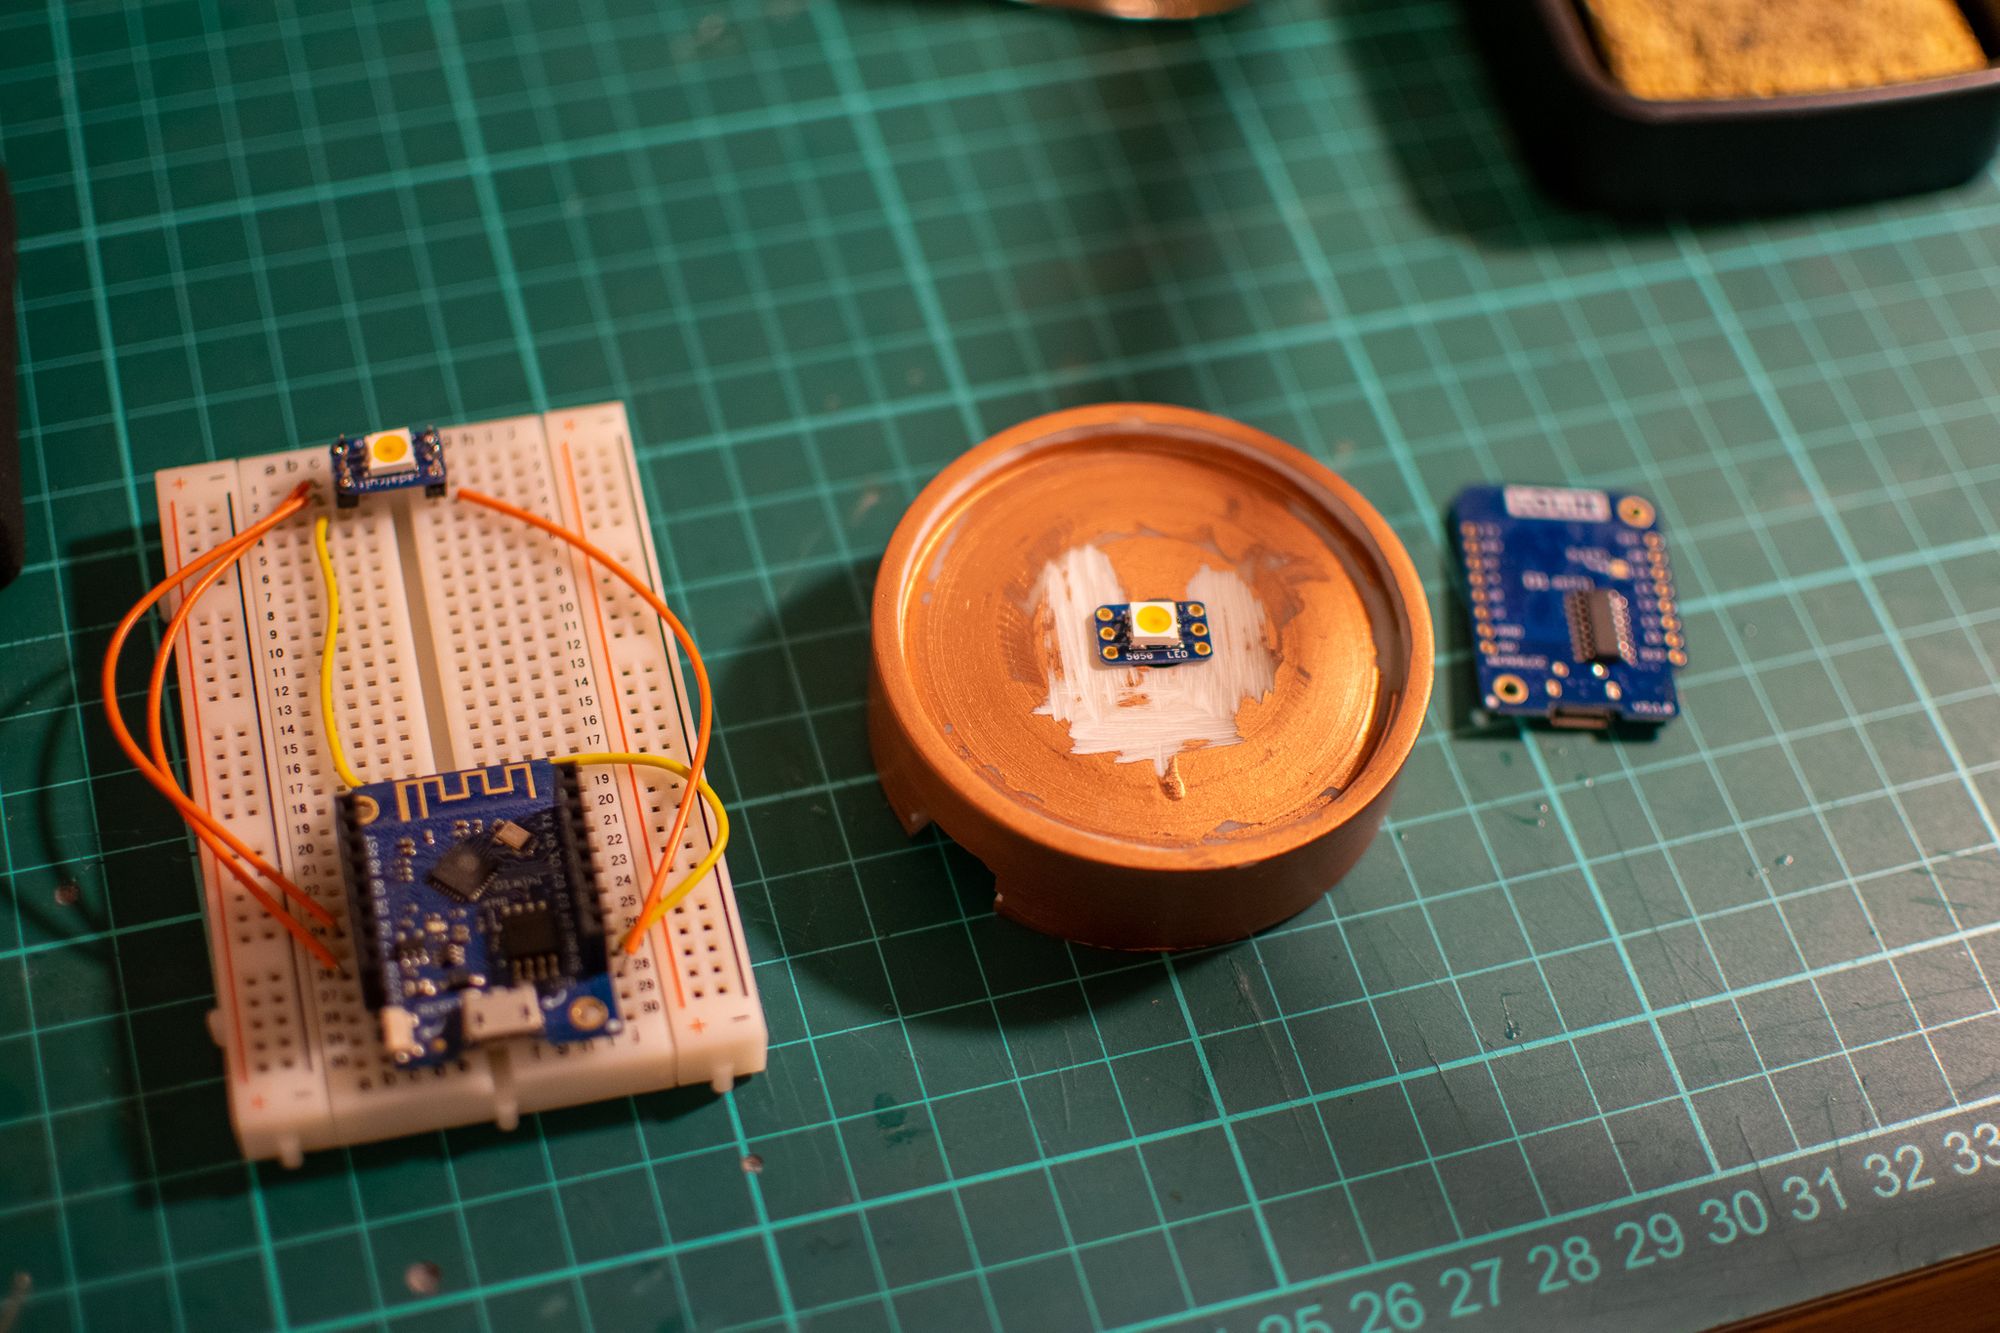
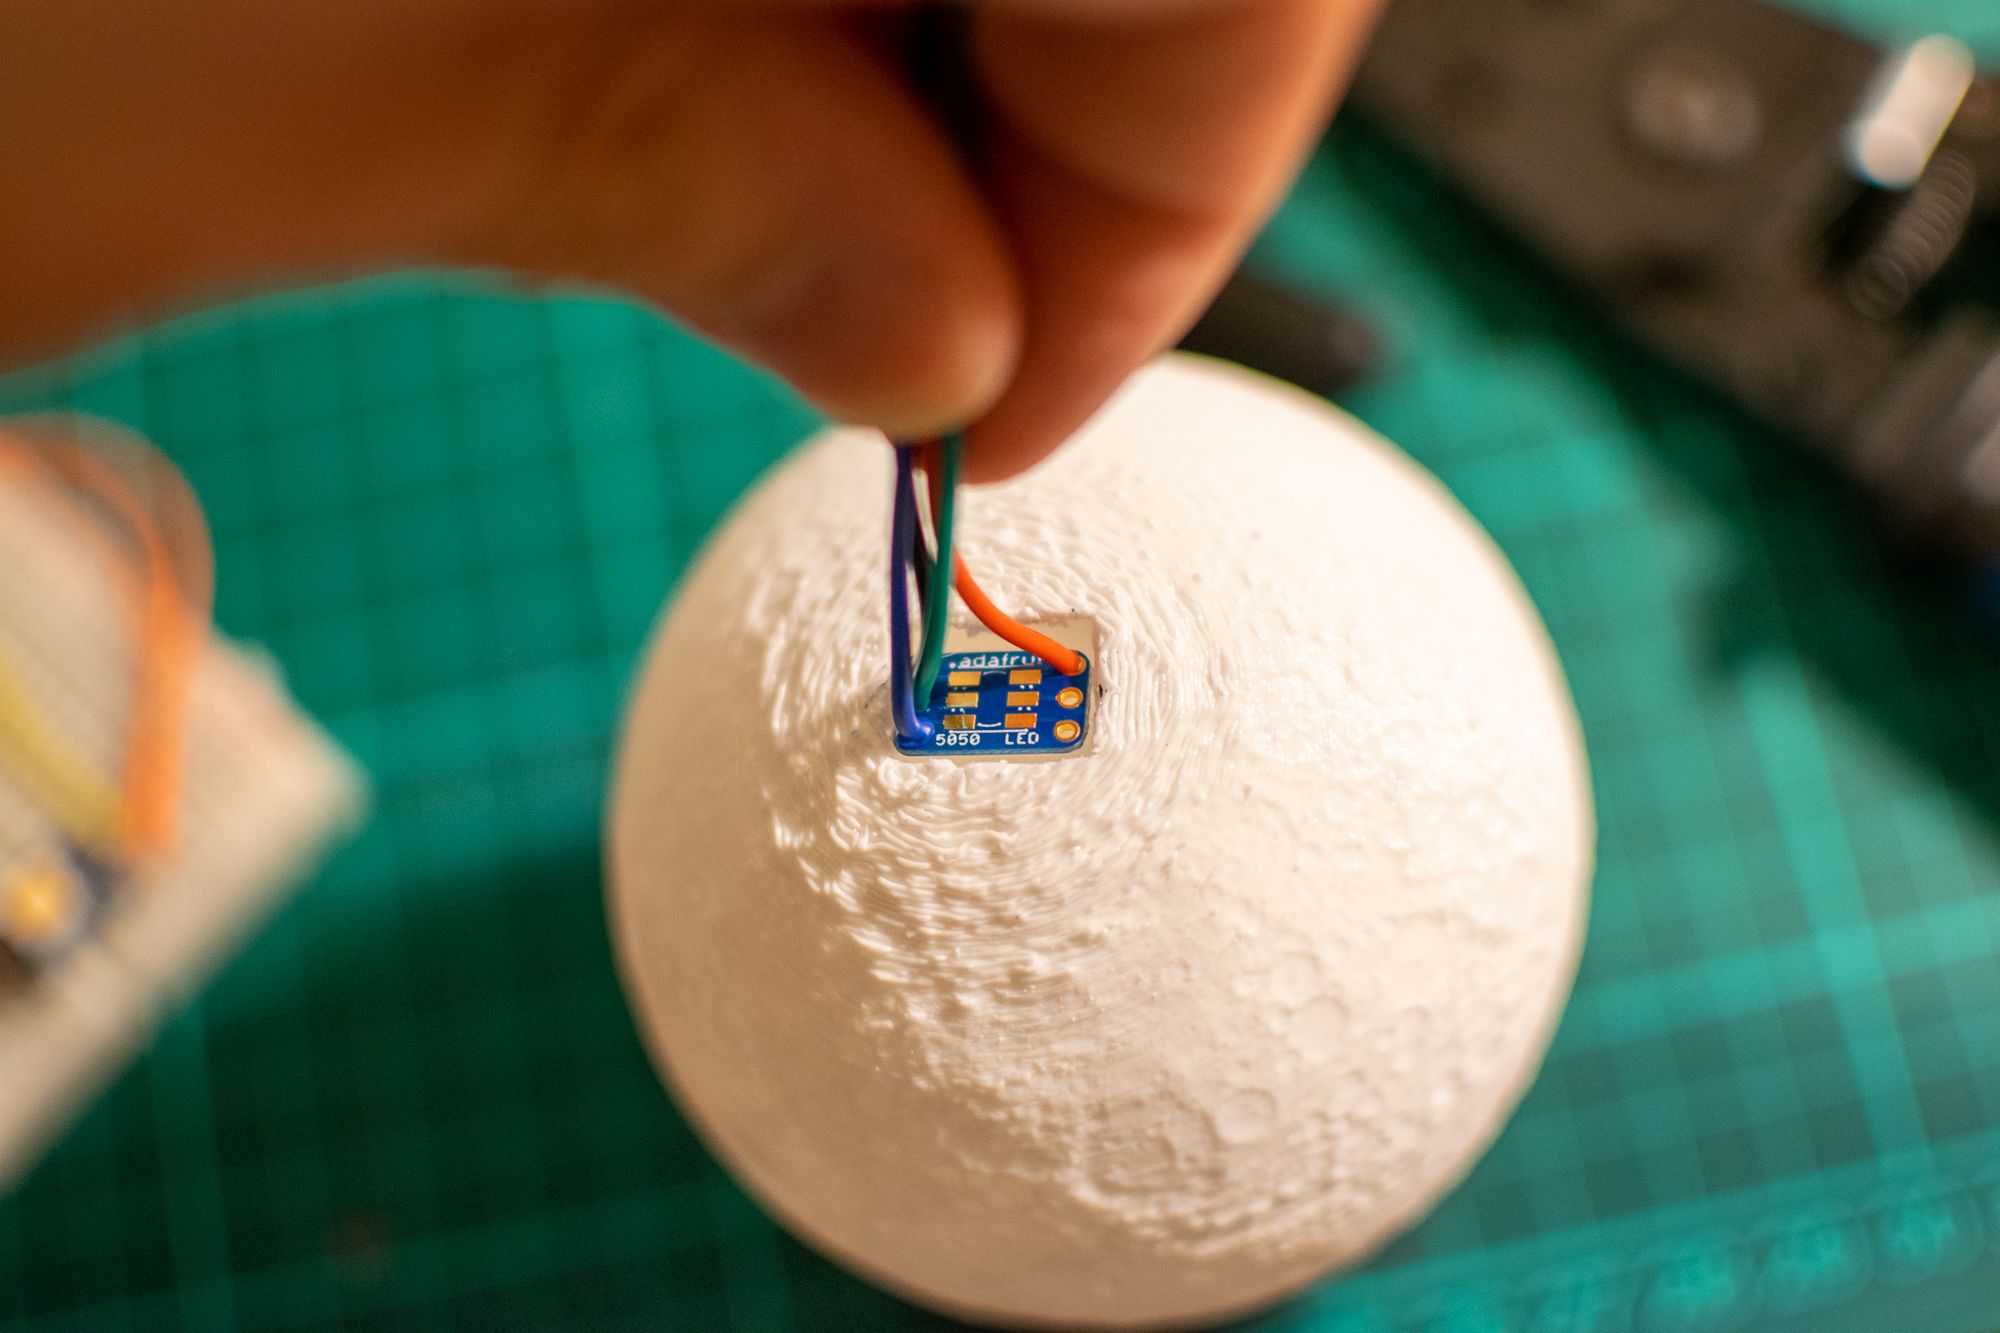
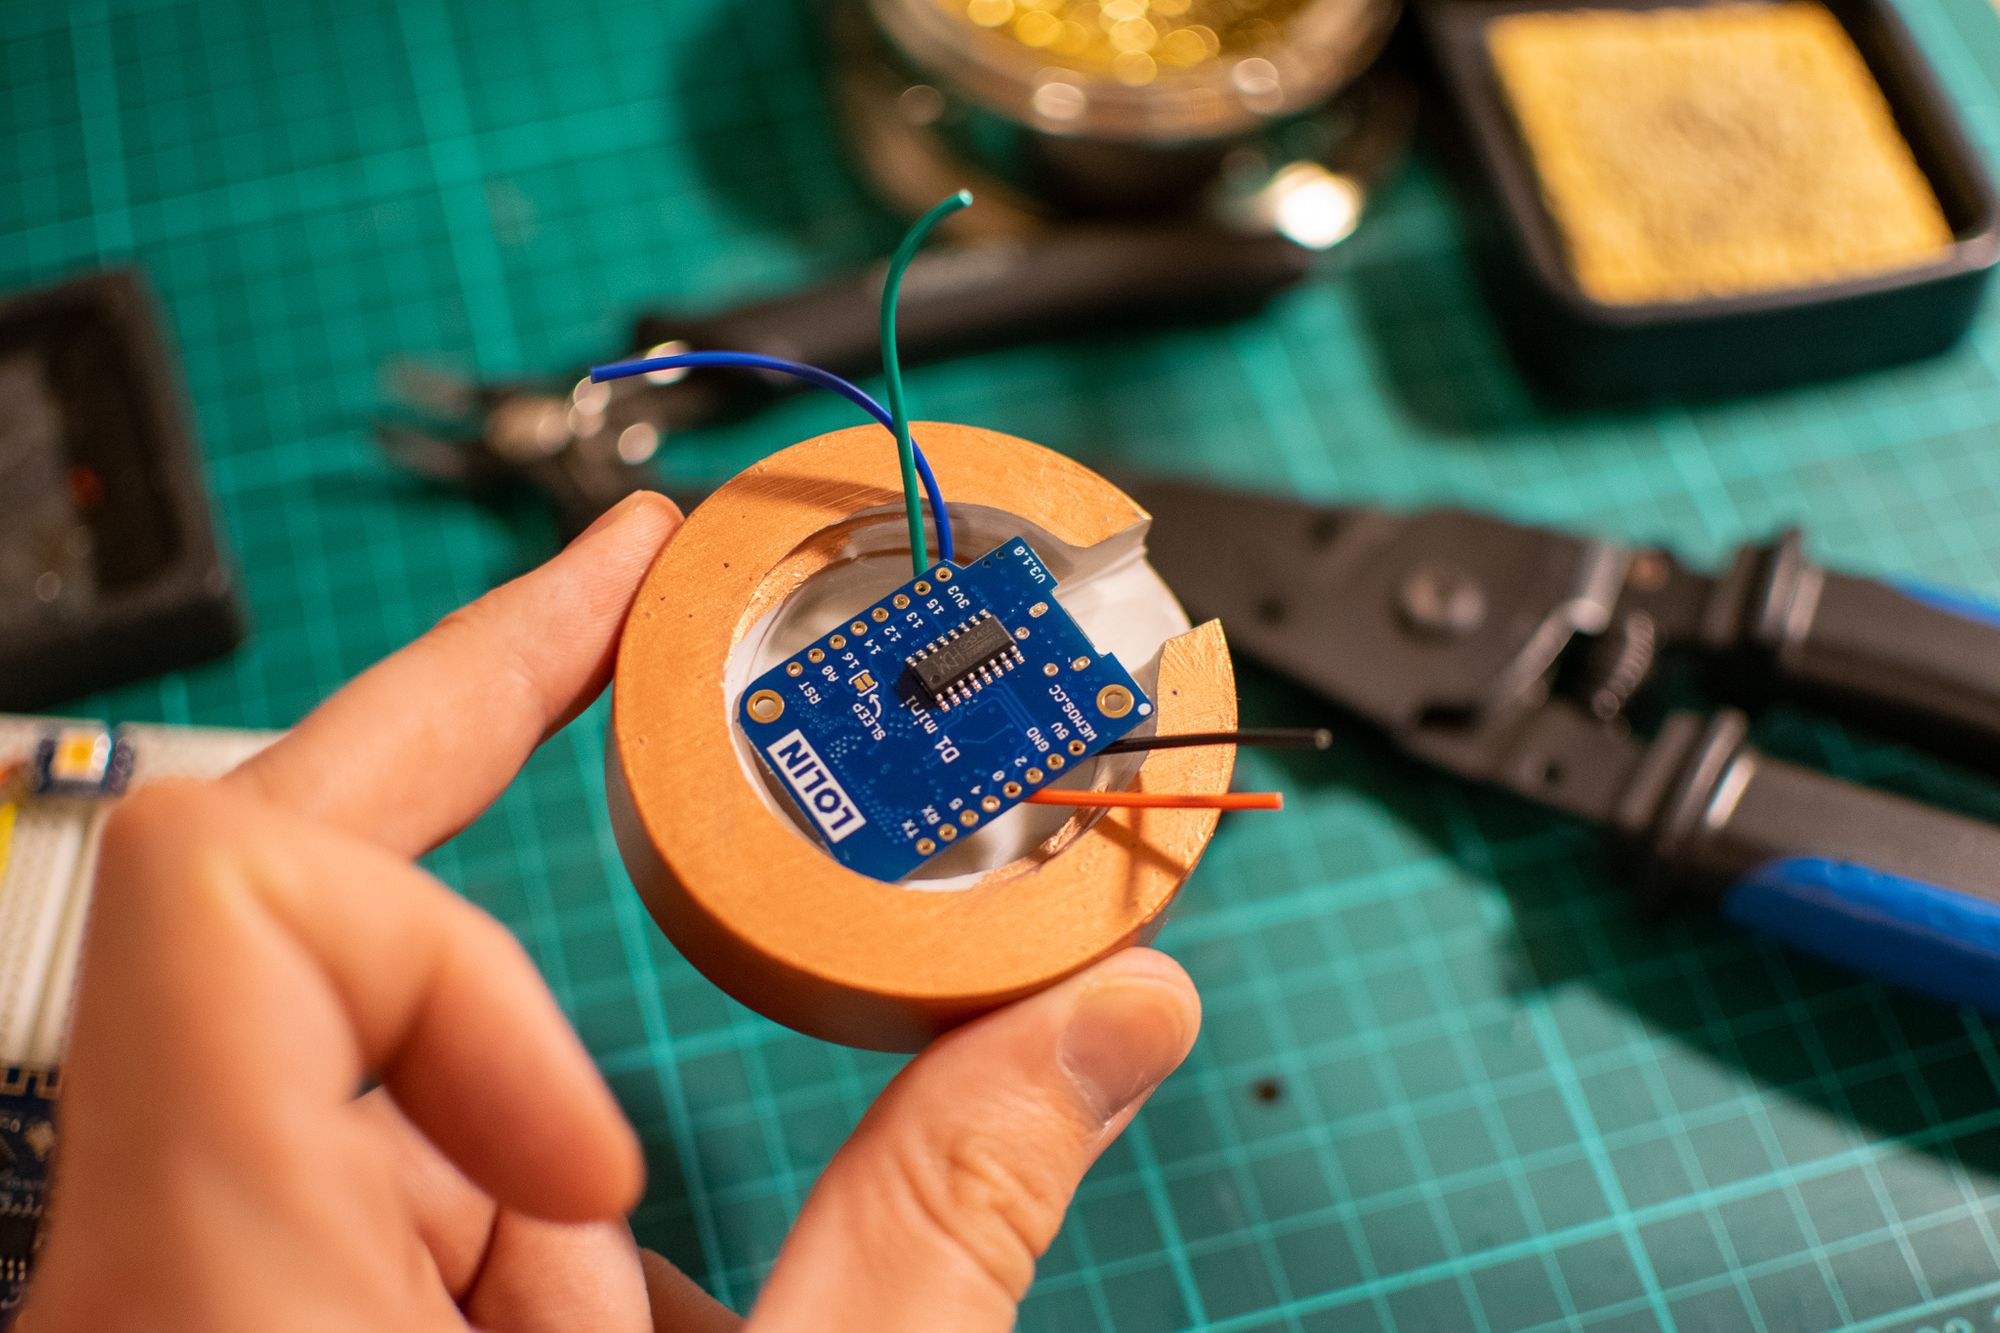
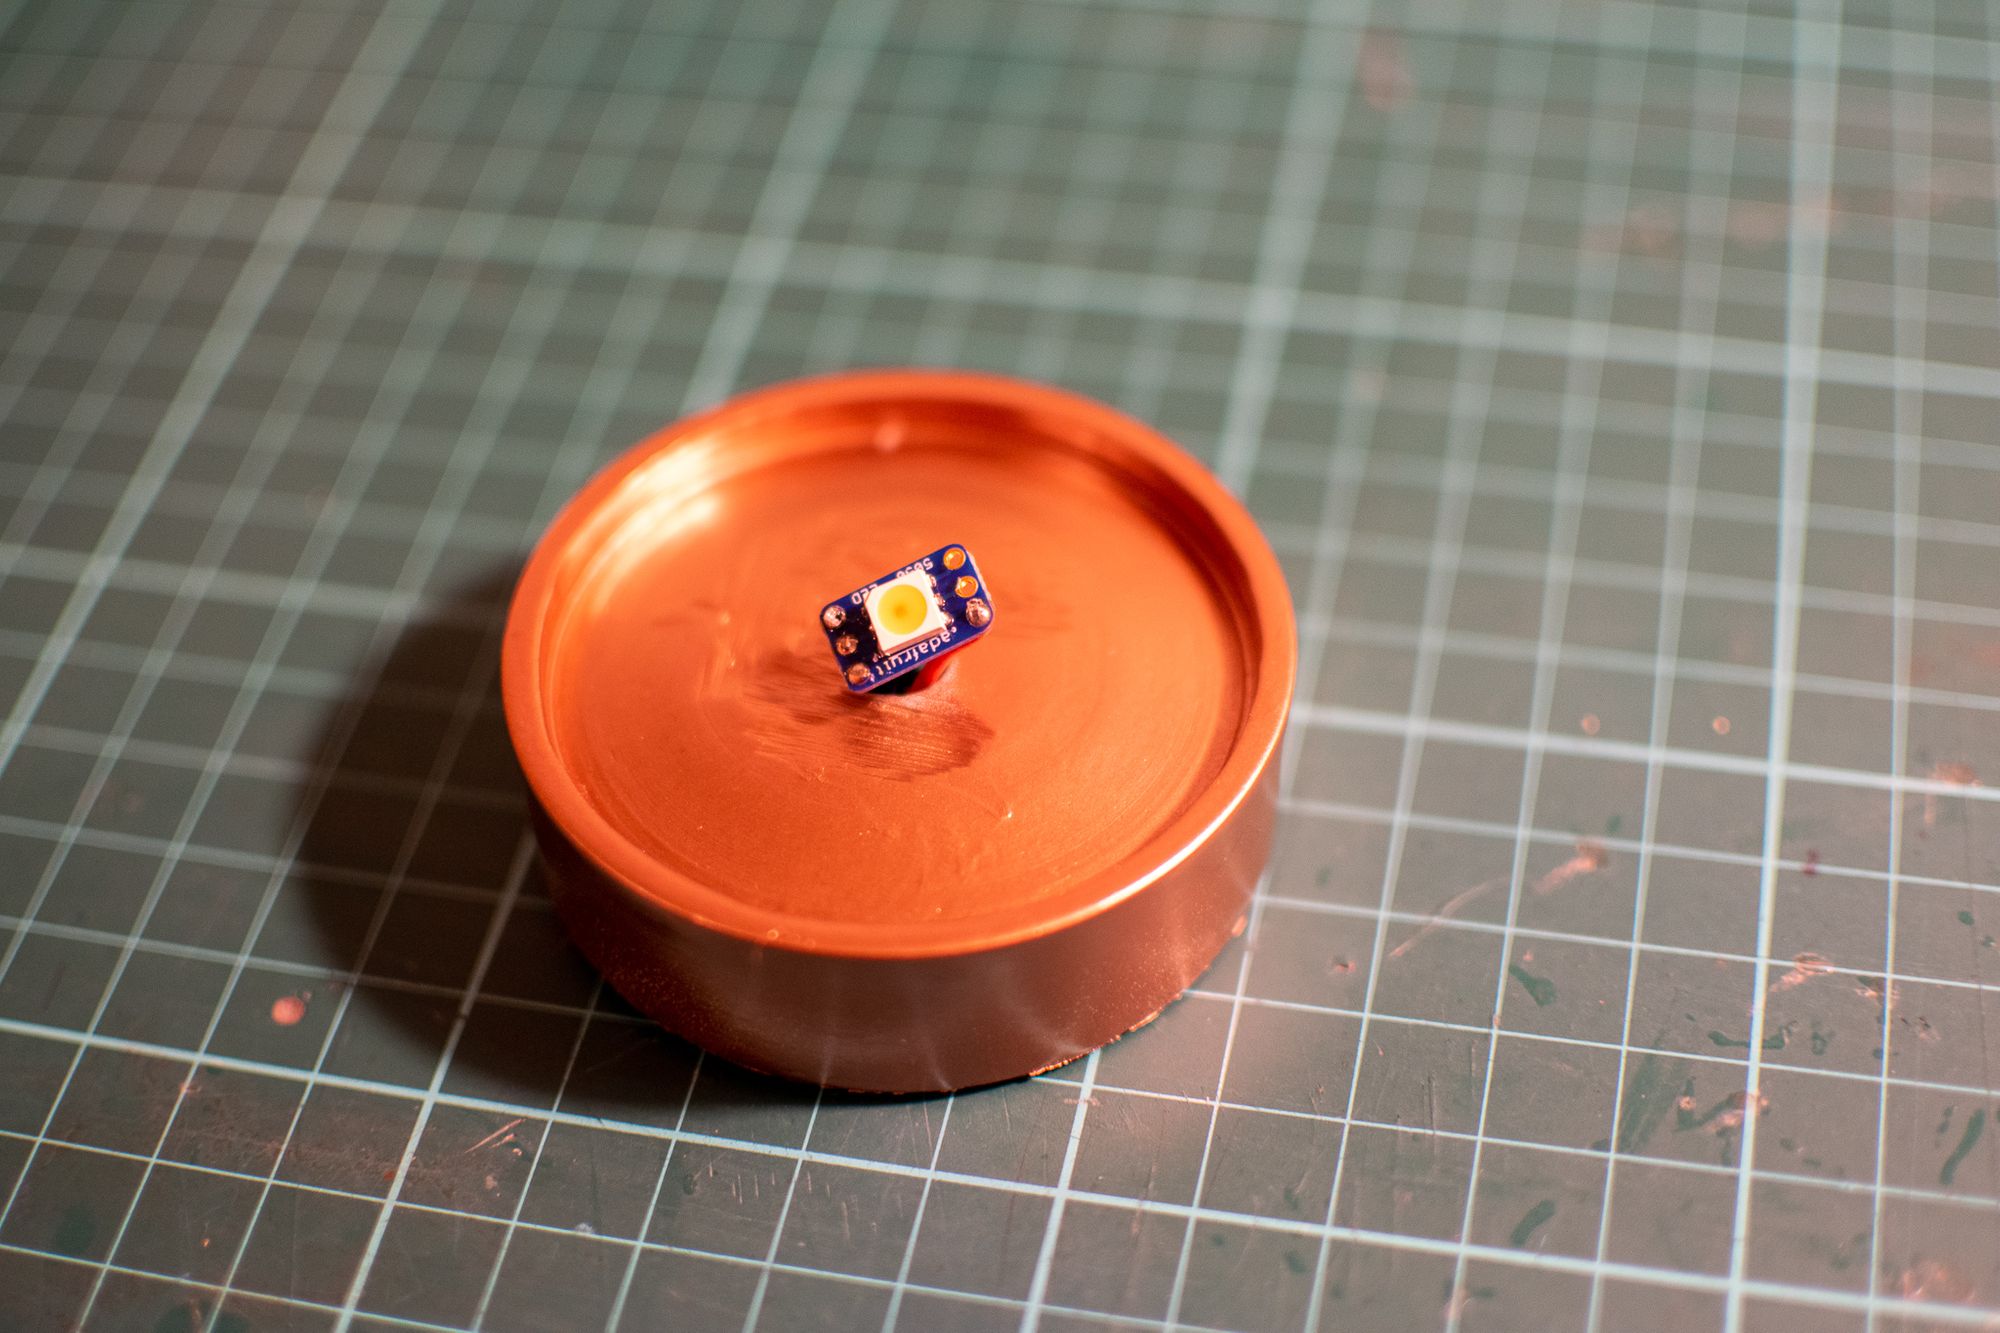
Once I'd printed the moon, I wanted to work out what type of LED's I'd need and how many of them were required to get the best effect. RGB LEDs definitely wouldn't be a good choice, and nor would an unnatural White LED, we want the moon to look as natural as possible (given that it's 8cm wide). Instead, I went with the SMT Dotstar Warm White LEDs along with the Adafruit 5050 breakout boards. Technically, we could have just used some basic warm white LEDs and used PWM to dim them, but who turns down the opportunity to play with some new tech? In order to control the LED, I fished out a spare Wemos D1 Mini which gives us the benefits of having WiFi built in along with being in a tiny form factor. The ultimate goal is to have the LEDs in the Moon turn on and off depending on when the (real) Moon is currently visible above us. We could do this with a far more basic Arduino Processor and an RTC, but it would involve a fairly intensive setup process or additional hardware every time you want to change the time or base coordinates. With the ESP8266 / Wemos D1 Mini, we can use the WiFi Captive Portal Library to create a Wireless hotspot allowing us to configure the SSID / password for access to the internet (so we can use NTP) as well as configure the latitude and longitude. A quick prototype on a breadboard later and we've got something that looks pretty good!
The Build
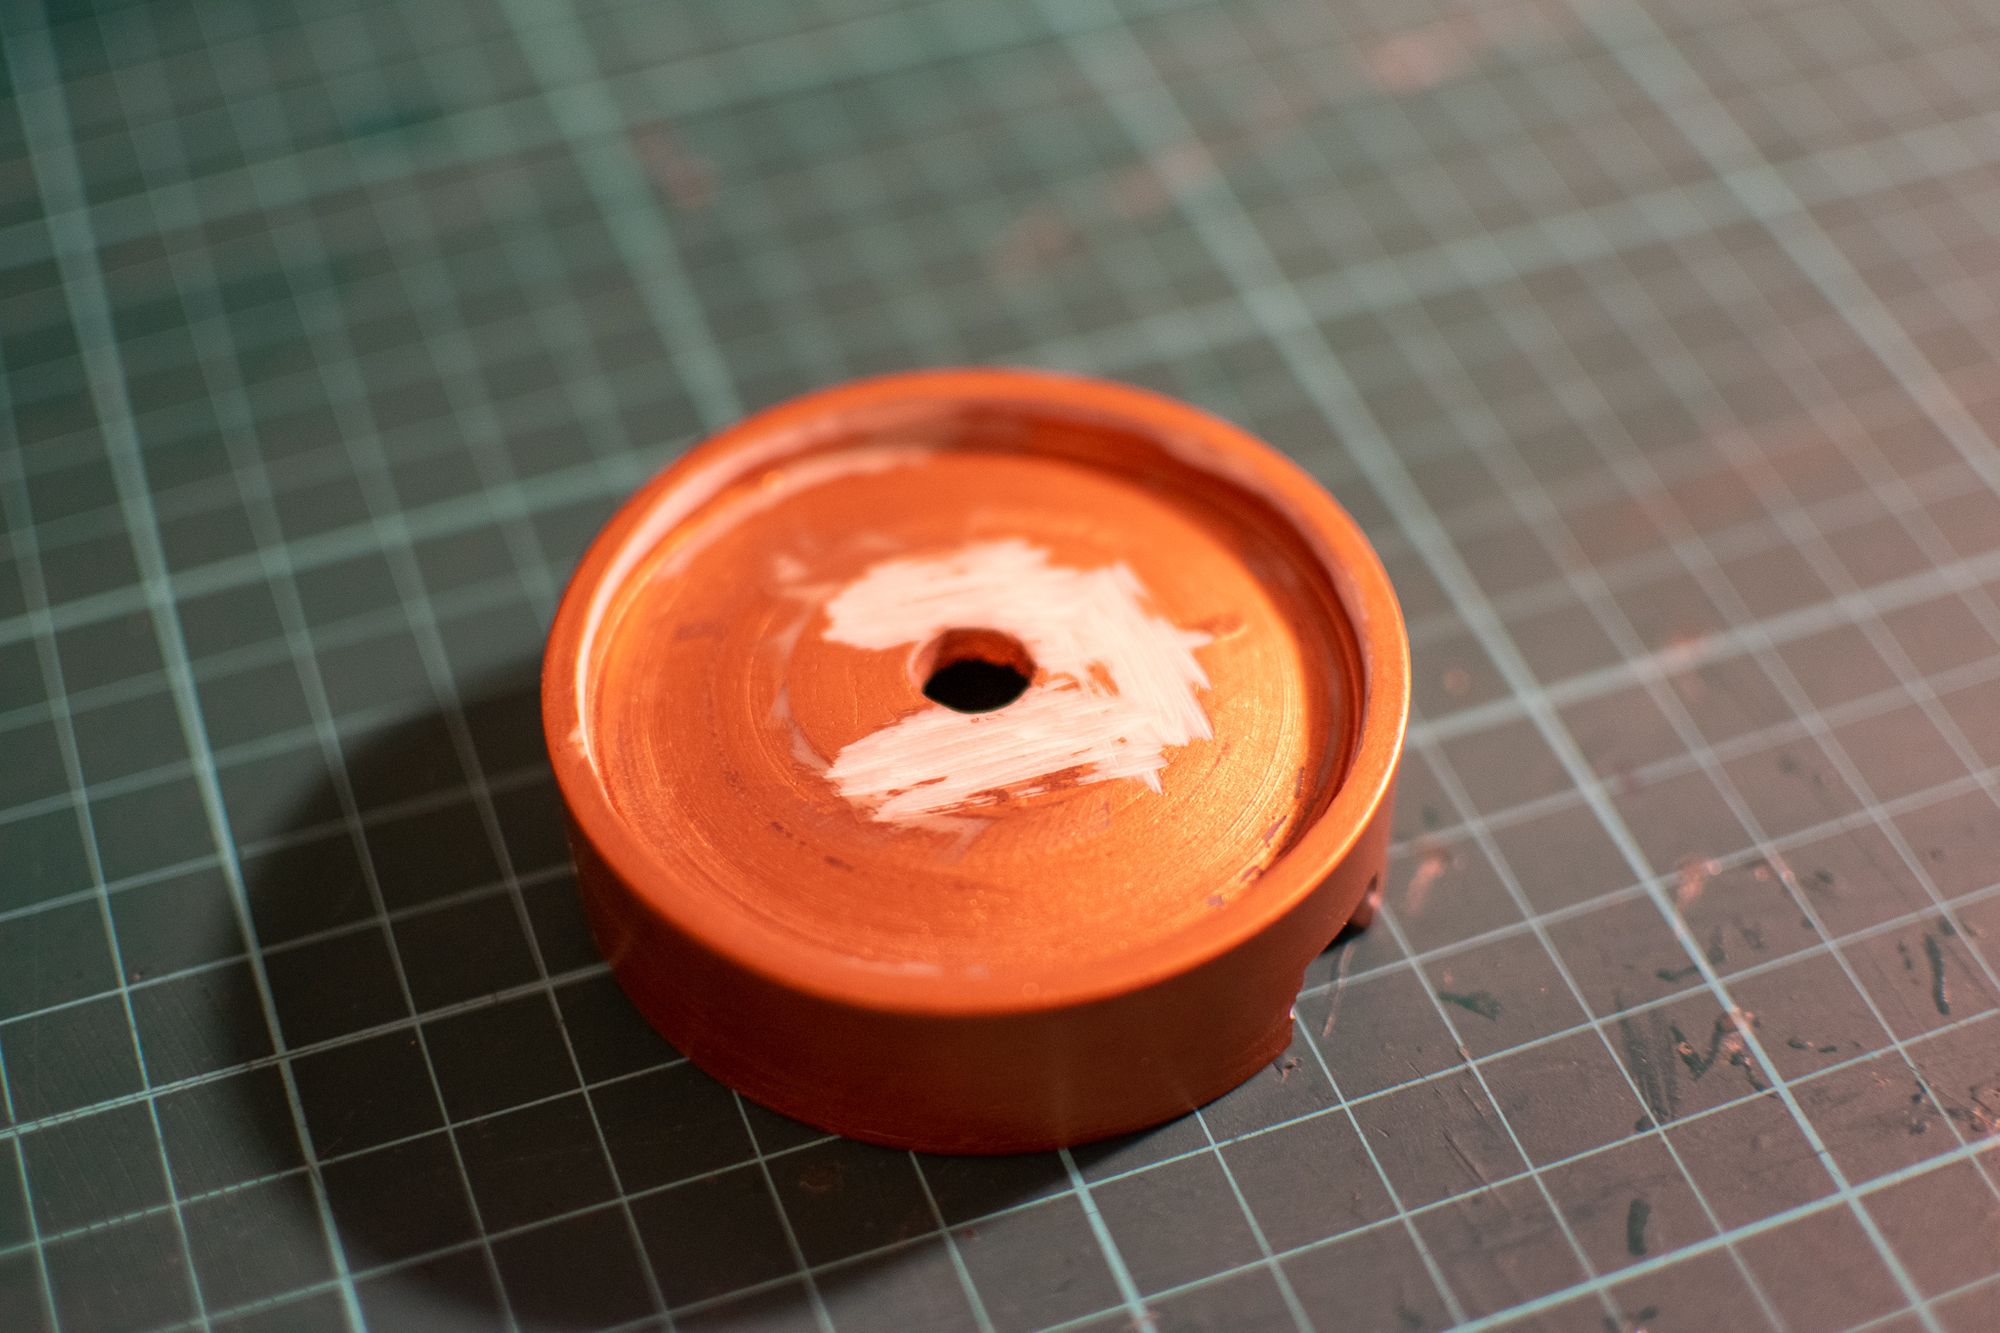
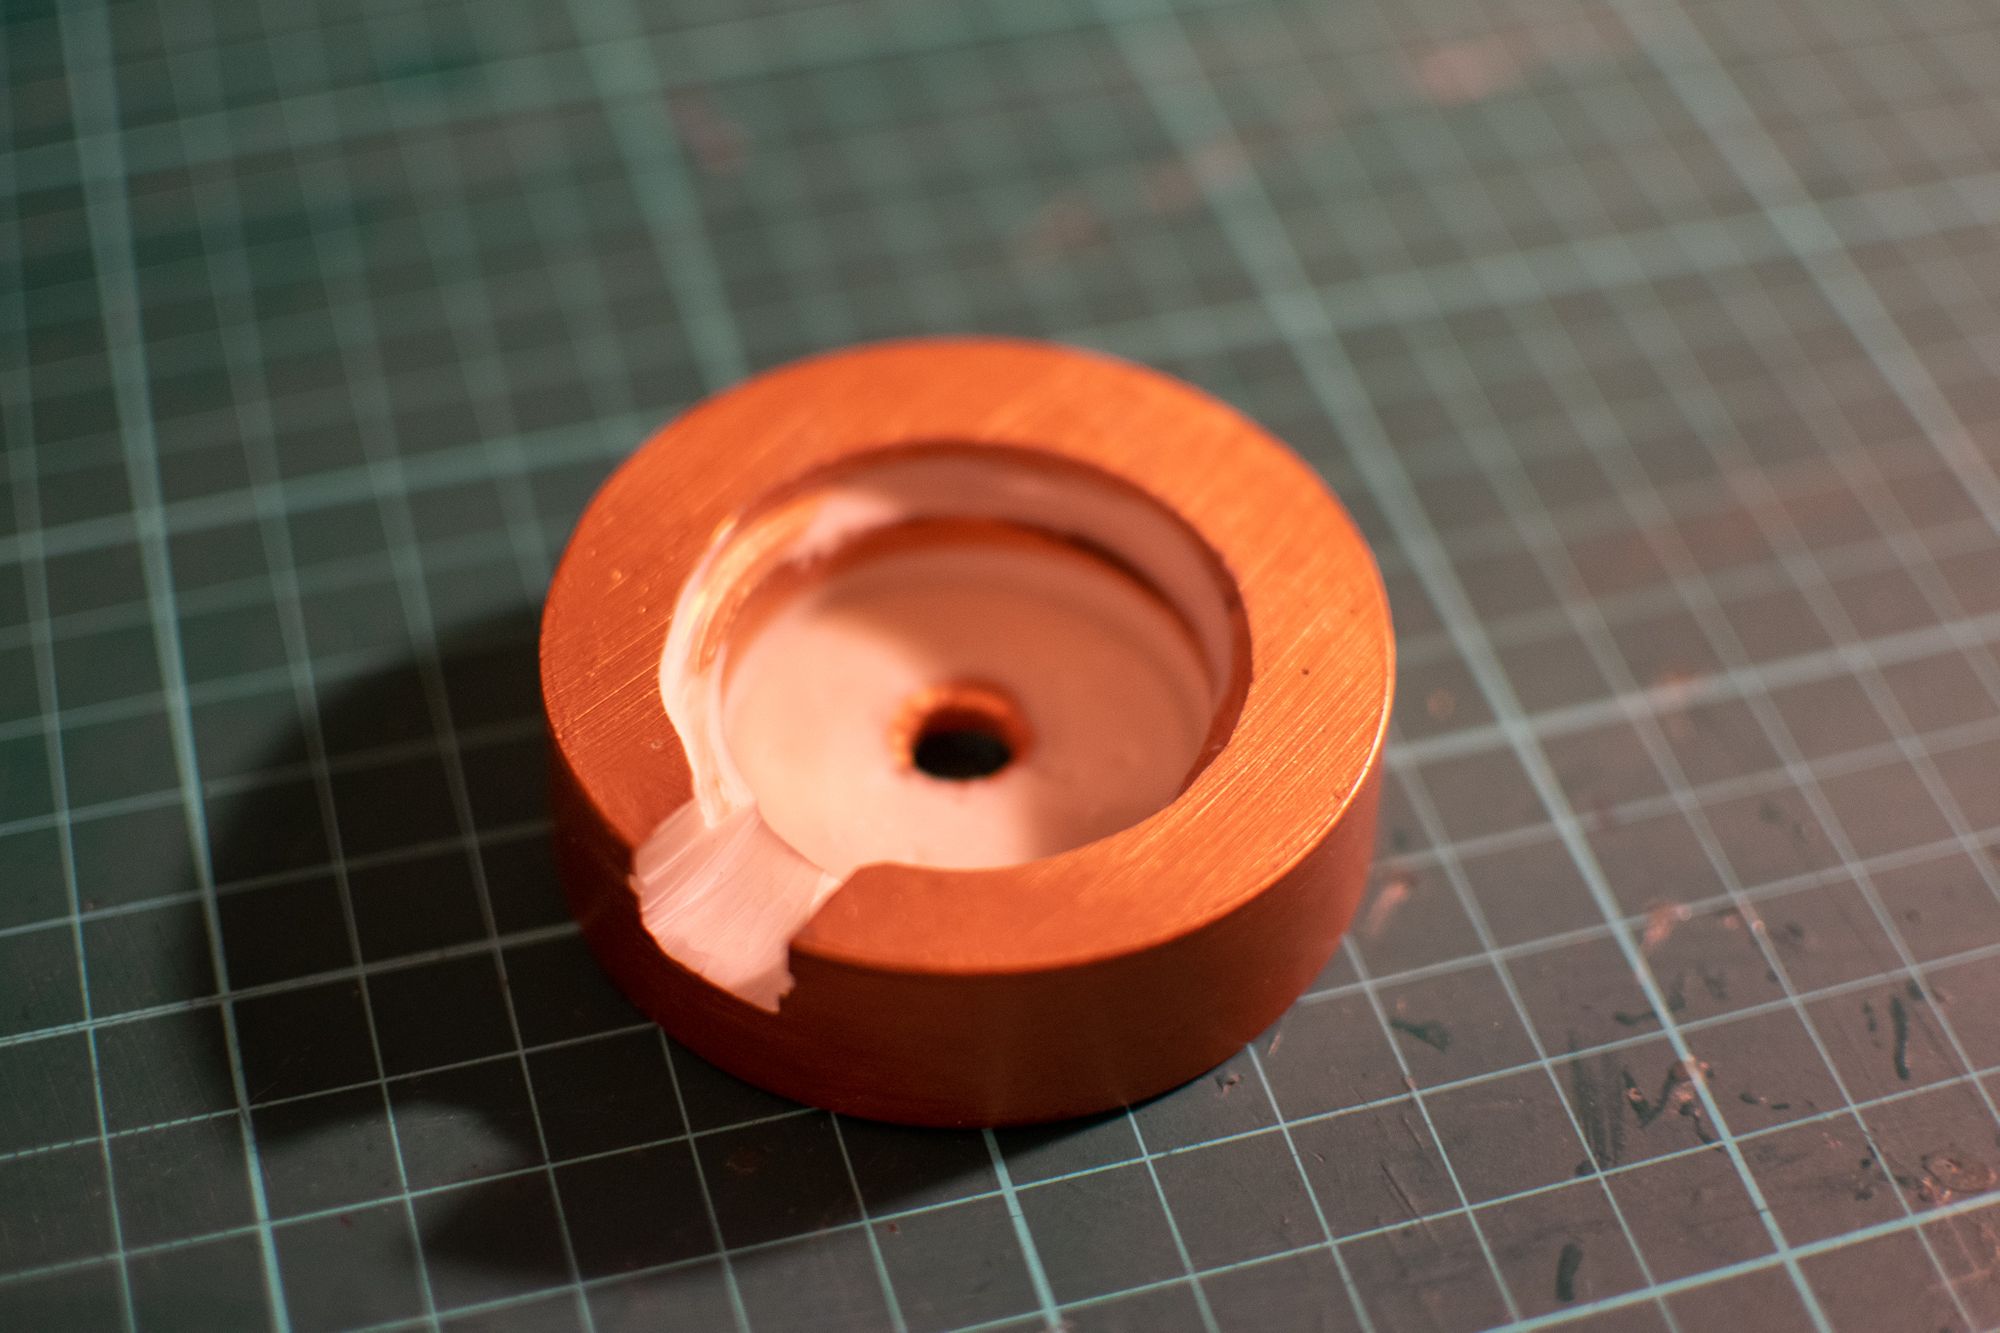
For the final build, I wanted to have a nice base that could contain the Wemos D1 Mini as well as support the Moon. In hindsight, it probably would be faster to model and 3D print one myself, but whilst out shopping saw a decorative glass dome with some little paper trees inside at a discount for clearance. The base looked like it was the perfect size and so with some hot water to separate the base from the dome, and a few cuts using the Dremel, we end up with a good base to fit the moon on top of and the Wemos underneath.
The Base was a bit scuffed when I cut into it, so I re-used the gold spray paint left over from the Dragon Egg Project. Finally, a liberal helping of hot glue fixed the 3D printed moon and Wemos D1 Mini to the base.
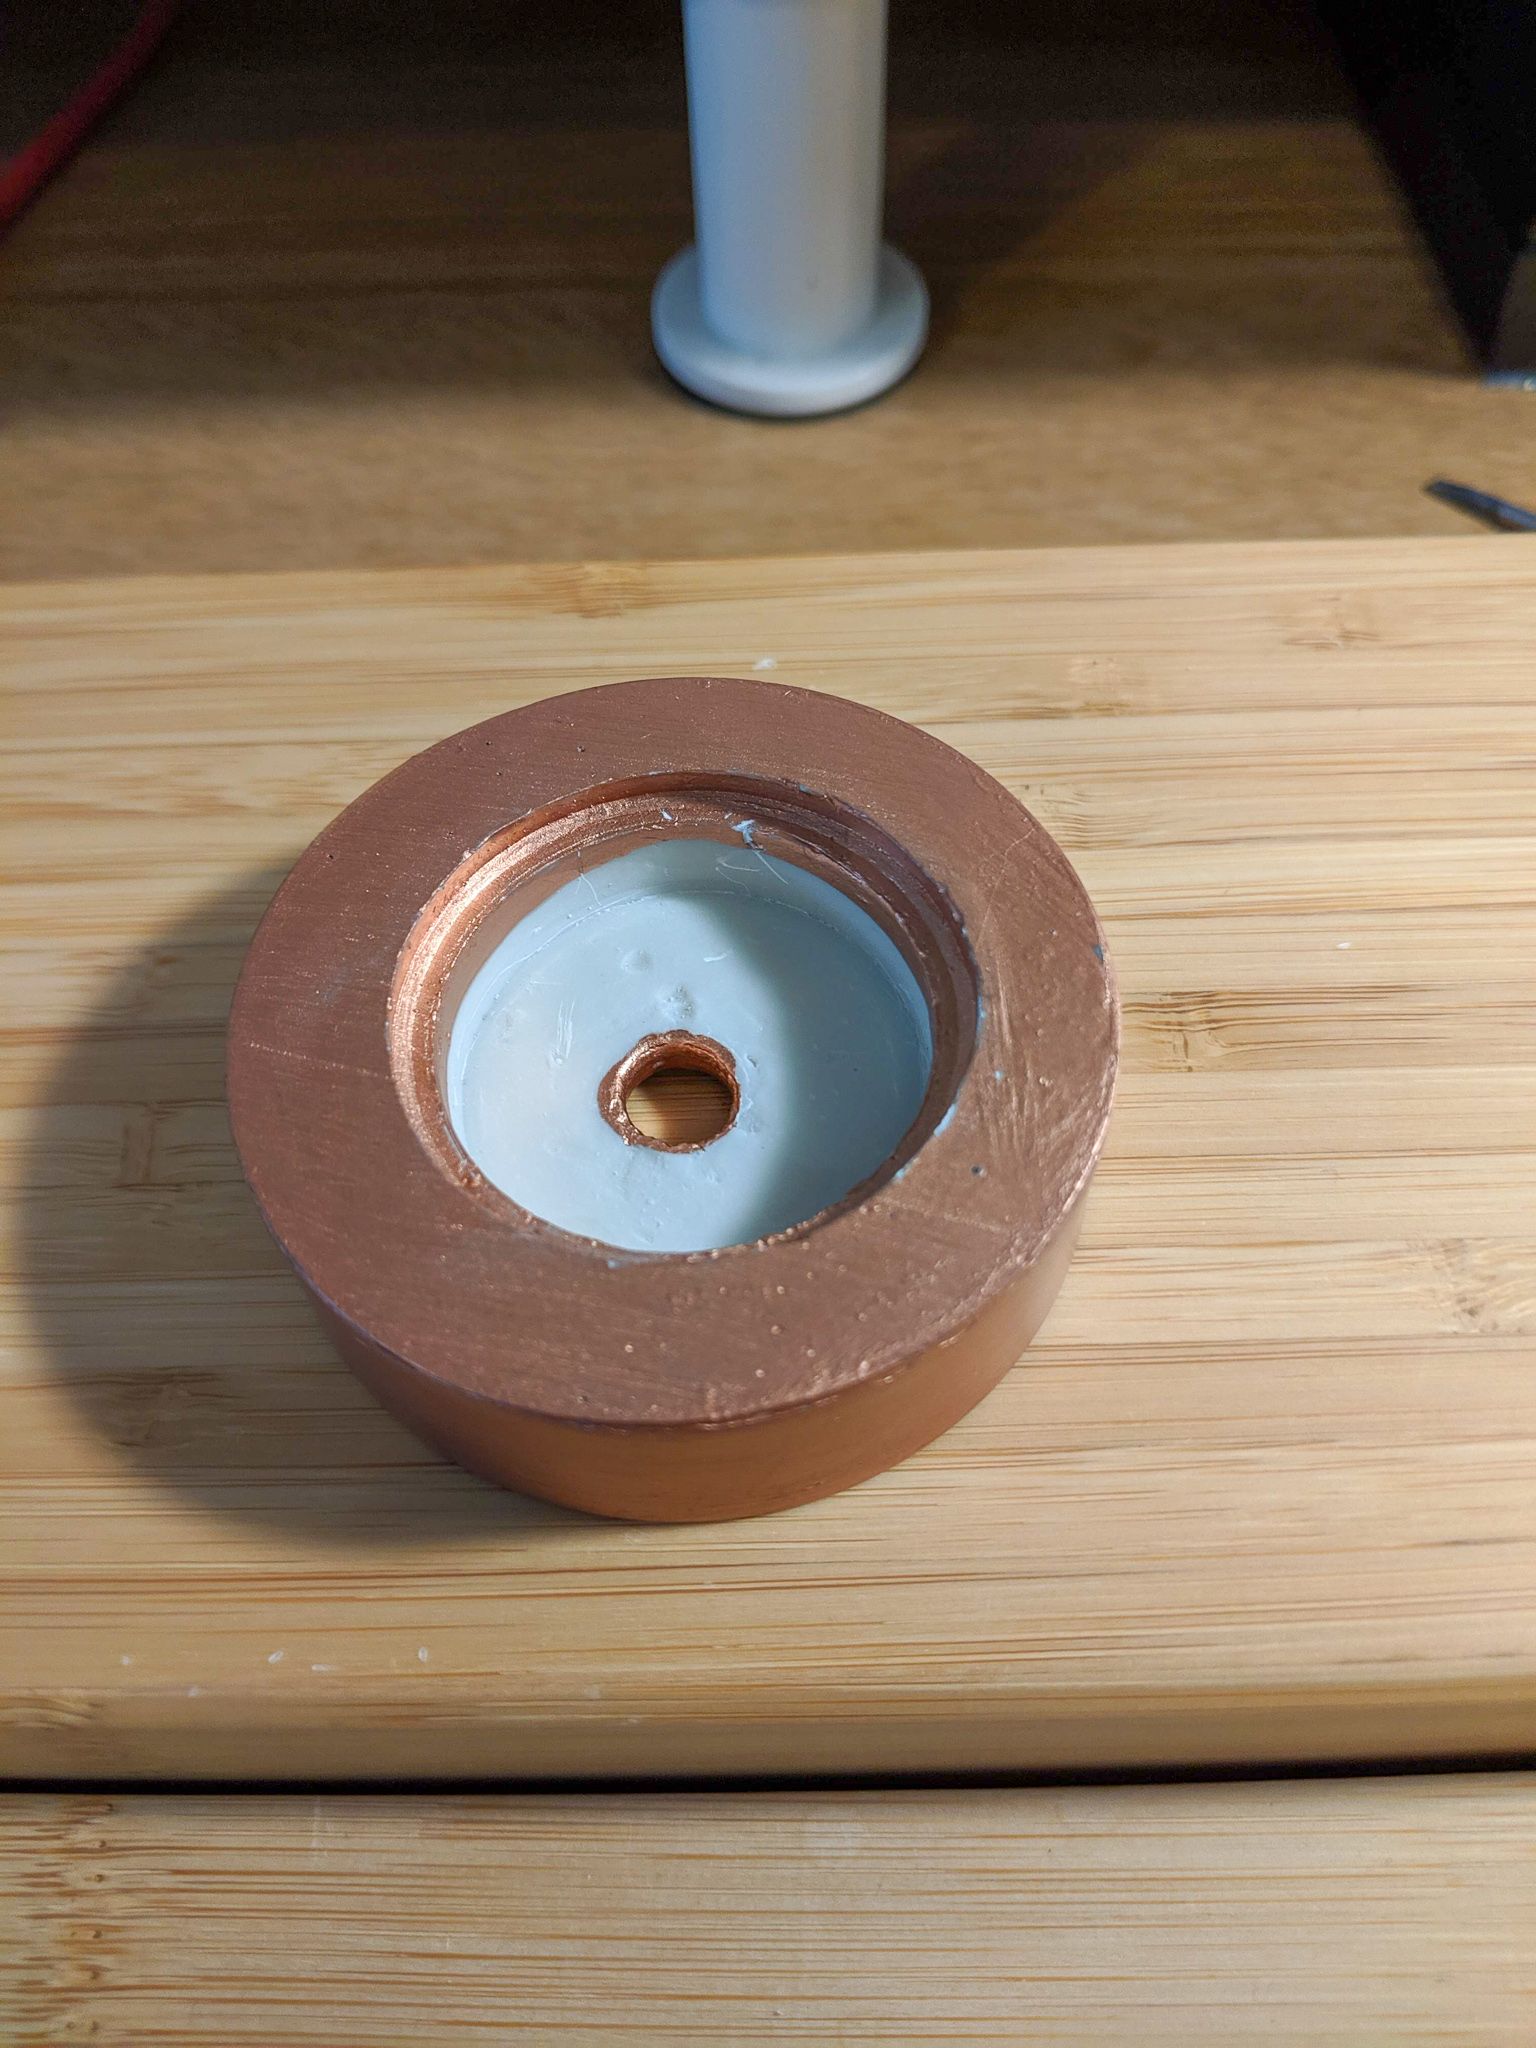
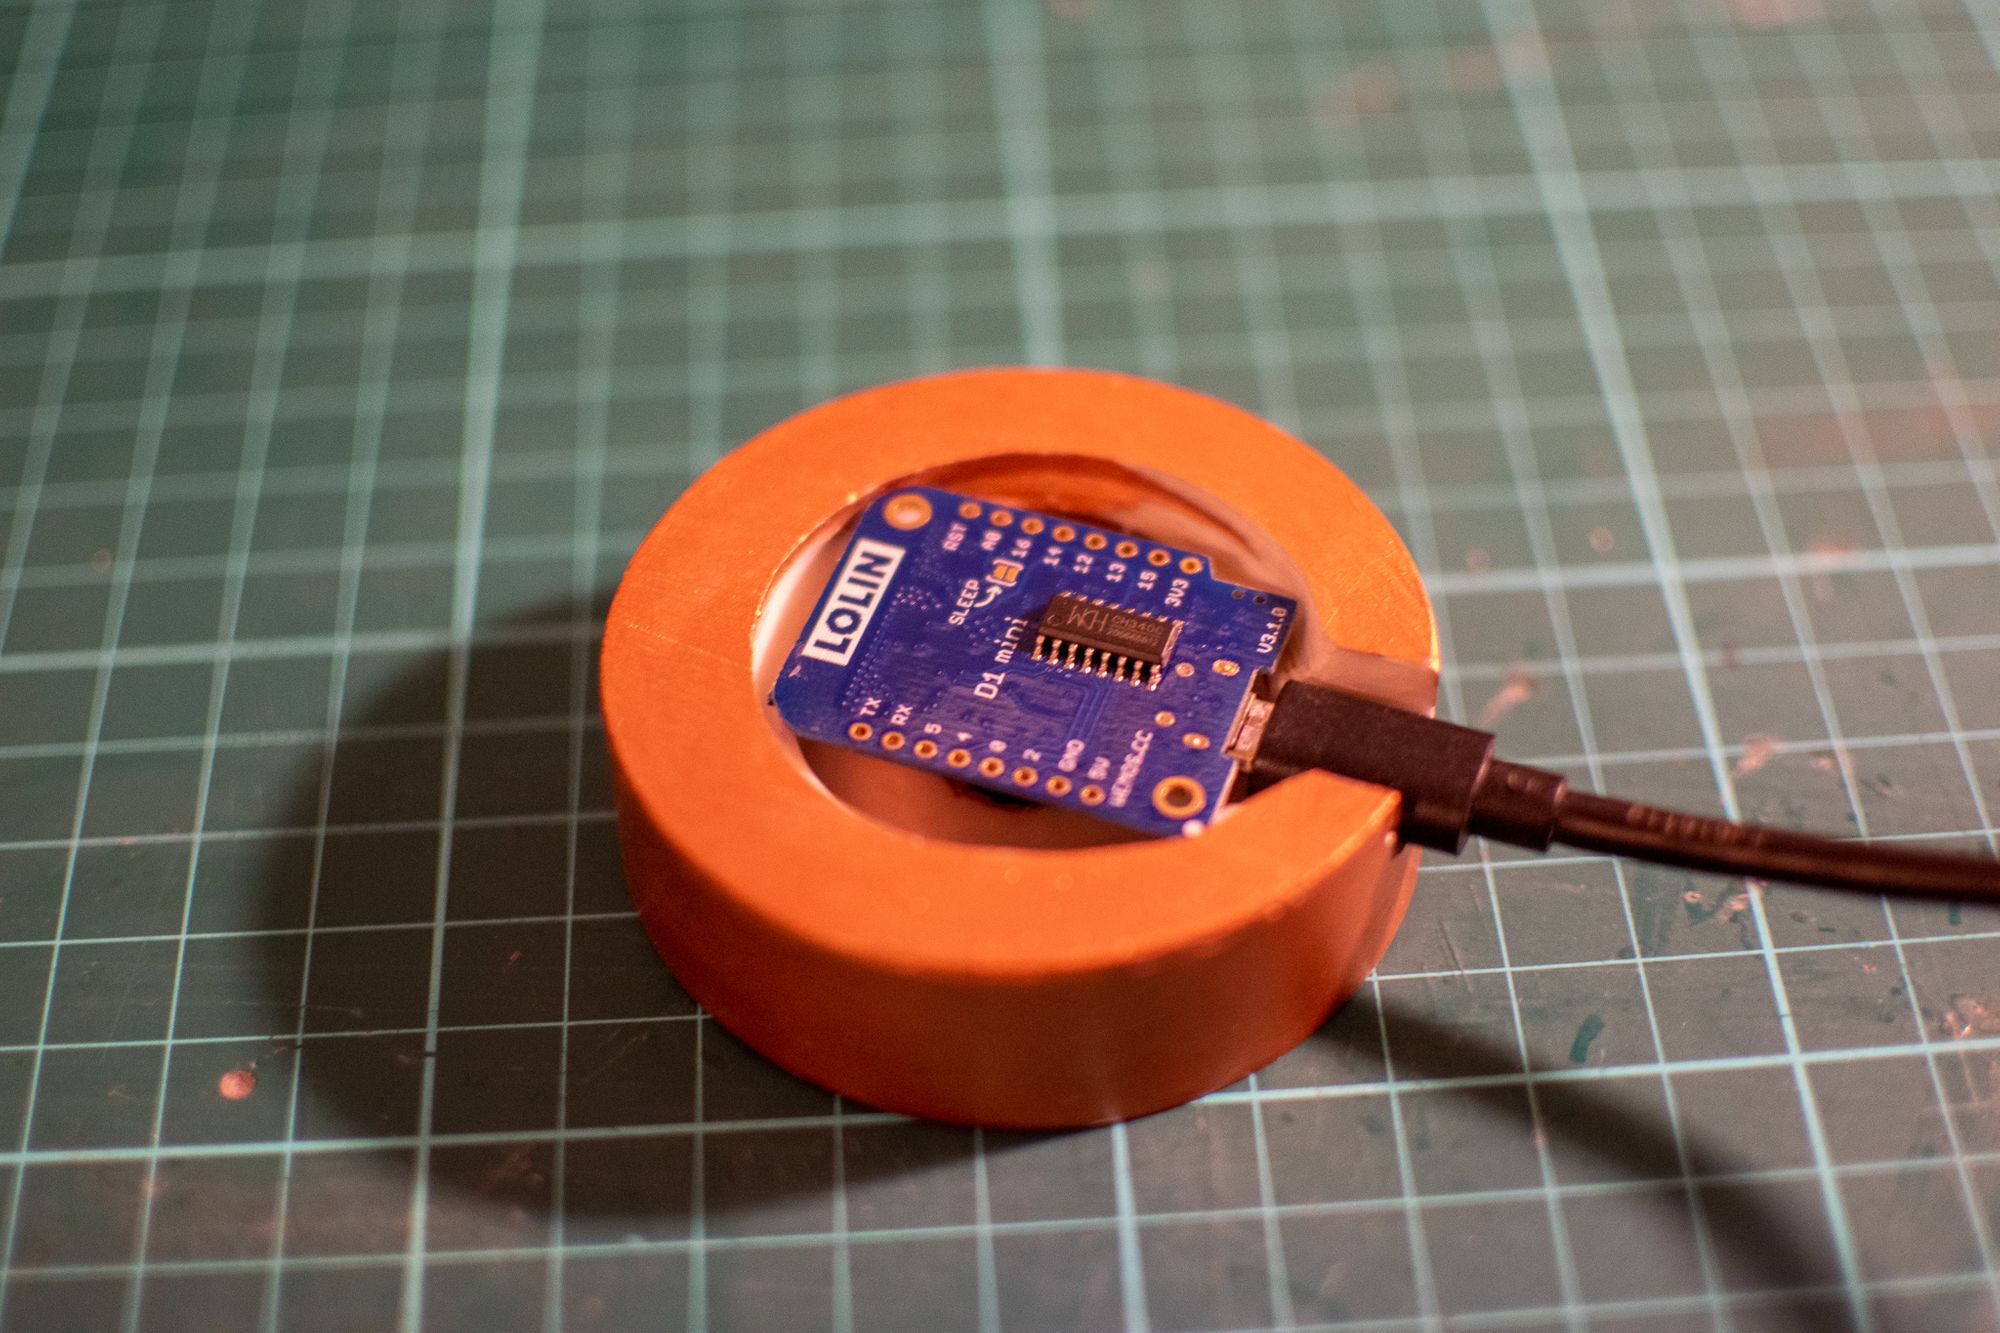

The Wemos fits nicely inside the base, and I cut a hole that was just the right size into the bottom of the moon so that the Dotstar LED would sit at the bottom, but just inside the moon.

The Code
The code for this project is relatively simple, but because I wanted to link the behaviour of the light to the real-time relative position of the moon, I would need to have an accurate source of time. As I was using the Wemos (ESP8266), I decided to avoid adding an RTC (Real Time Clock) but instead to use the WiFi to pick up the time over NTP (Network Time Protocol).
On startup, the code goes through the following phases:
- Attempt to connect to a Wireless network based on saved credentials.
- If the configured network is not available, or no network is configured, enter hotspot / captive portal mode and expose a configuration page to set up the wireless connection.
- Connect to the WiFi Network.
- Pick up the time from available NTP servers.
- Enter the main program loop:
- Check hardcoded longitude / latitude & time to see if the moon is currently visible.
- If the moon should be visible, fade up the light.
- If the moon is no longer visible, fade down the light.
All of the code is available in it's GitHub Project here, please feel free to use it for your own projects and if you have any improvements, please submit a Pull Request!